INTRODUCTION
Before my wife and I had kids we used to have a small tv in our bedroom. That ended because our first daughter slept in our bedroom so we got rid of the tv because it interrupted her sleep. Now when our kids are getting older we wanted to get a tv again.
For some reason I had a hard time finding a tv that fulfilled my requirements.
- Small display size below 27″.
- Cheap, I don’t want to spend around 2.000 DKK for a new tv.
- I was willing to pay around 500 DKK for a used tv.
- Must be full HD resolution.
- Need to support DVB-C for our cable tv signal.
- I don’t want an ugly plastic tv (I used to have a Bang & Olufsen BeoVision 6).
Especially the last requirement was the hardest to fulfill. Many of the cheaper tv’s just look very bad and cheap. And if I found a used Sony or Samsung tv, that had a reasonable design, it would cost more than 1.000 DKK used. I kind of forgot about the tv until I found a Samsung tv that was left for bulk waste just around the corner of my building.
THE BROKEN TV
I picked up the tv and found the remote control lying next to it. At first sight the tv looked fine; the display wasn’t damaged and the cabinet looked fine. When I brought it home to my workshop I tried to power it on. The red standby LED turned on for a moment and then turned off again. The remote control didn’t changed anything. I started to inspect the tv and found out that the lower left corner had some broken plastic. To investigate if this damaged was related to the power on problem I unmounted the back part. With the electronics revealed I started to search for loose connectors, capacitors or other components which could have taken damage from the force that broke the corner. After a while I discovered that a corner near a screw mounting hole on the PSU PCB had some cracks. I unmounted the PCB and saw that the crack had disconnected two copper traces. I inspected the PCB and found out which components the copper traces was supposed to connect and made a repair by mounting insulated wires between the connections. I reconnected the PCB and tried to power on the tv. First sign of life was that the LED stayed on. Then I pushed the standby button on the remote control and the tv came to life. I didn’t had an antenna signal to test with but the menus worked and the HDMI input also showed a picture. So I assumed that the problem was solved.
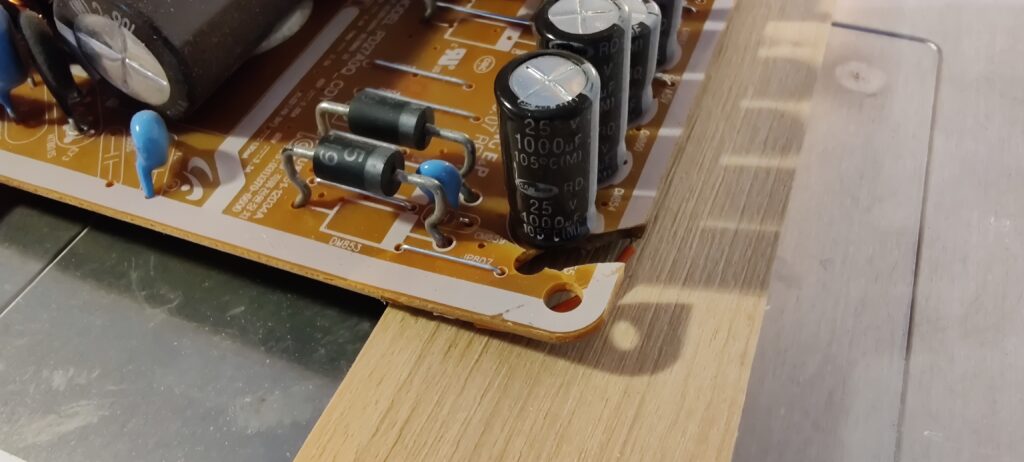
The broken corner of the PSU PCB

HOMEMADE WOODEN FRAME
Now I had a working tv with a broken plastic frame that I didn’t want to try to repair. First I thought about just throwing away the complete frame and just use the display panel, but I needed something to hold the other parts like PSU, control board and speakers. Then I thought about building a plate on the back of the panel to mount the modules on. This could have worked for a workshop tv but this one had to be used in our bedroom so I needed to improve a little on the design.
In my junk pile I found some old bed slats that had the right dimensions for building a frame around the display panel. Since I didn’t like the color of the light pine wood I found some teak stain to give it a darker color. Then end result looked nice, but it was a mistake to glue the frame before applying the stain. Because the stain couldn’t bind on the corners because of the glue. The inner dimensions of the frame fits perfectly with the viewable area of the display. The dimensions for the frame was found in the datasheet of the panel. Two bed slats holds the panel in place and are spaced so the two PCBs can be mounted on them. Speakers are mounted on the button part of the frame. I haven’t found a perfect place for the IR receiver, I might drill a small hole in the frame so it can be mounted there.
I need to warn you that it is NOT a good idea to mount the PSU PCB directly on top of the wood because of fire risk because of the mains power. You need to mount an insulator in-between the two.
GALLERY
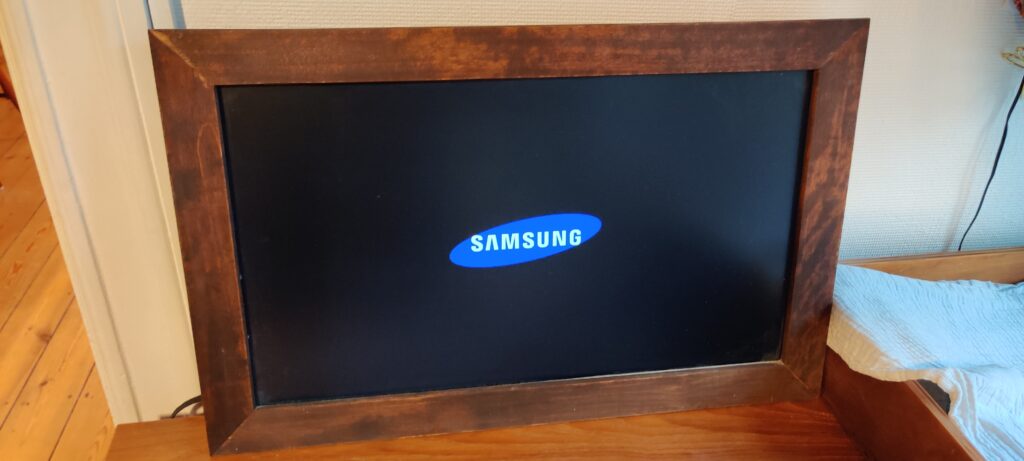
Startup picture 
HDMI input 
It was great to see everything working 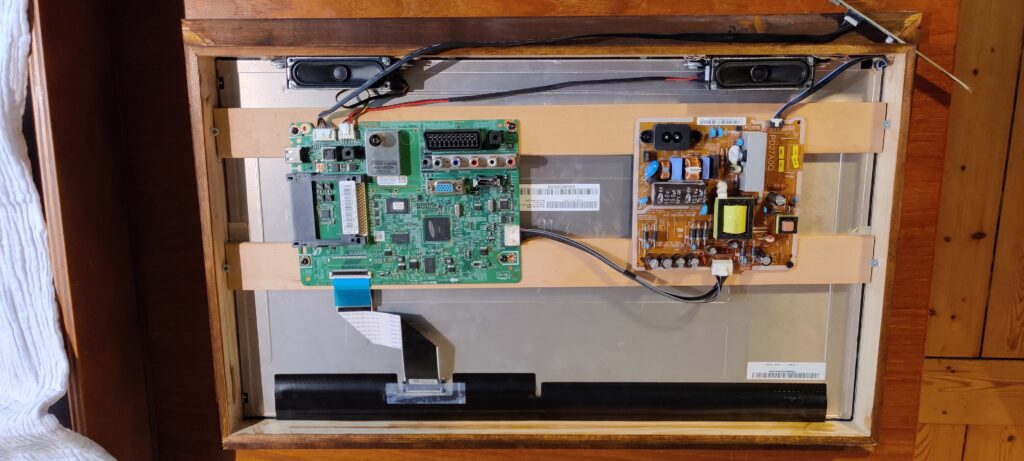
PCBs mounted on the frame 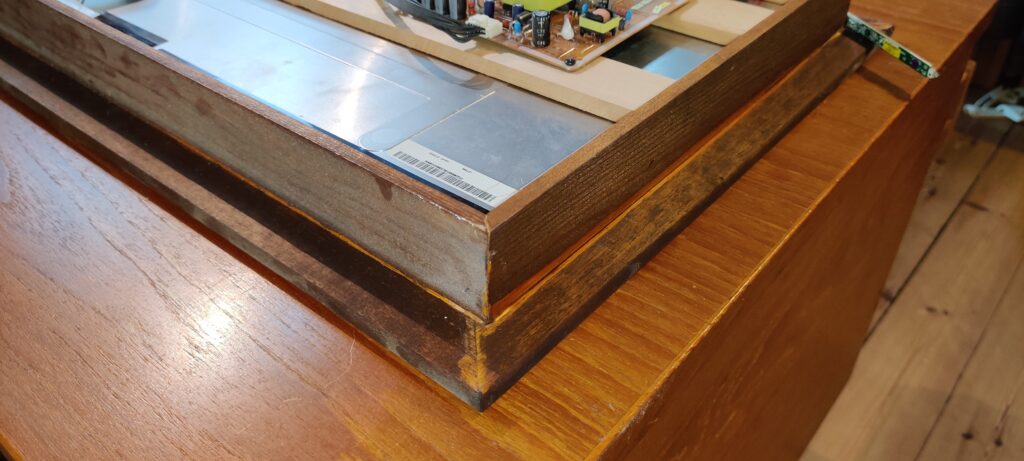
Corner detail of the frame 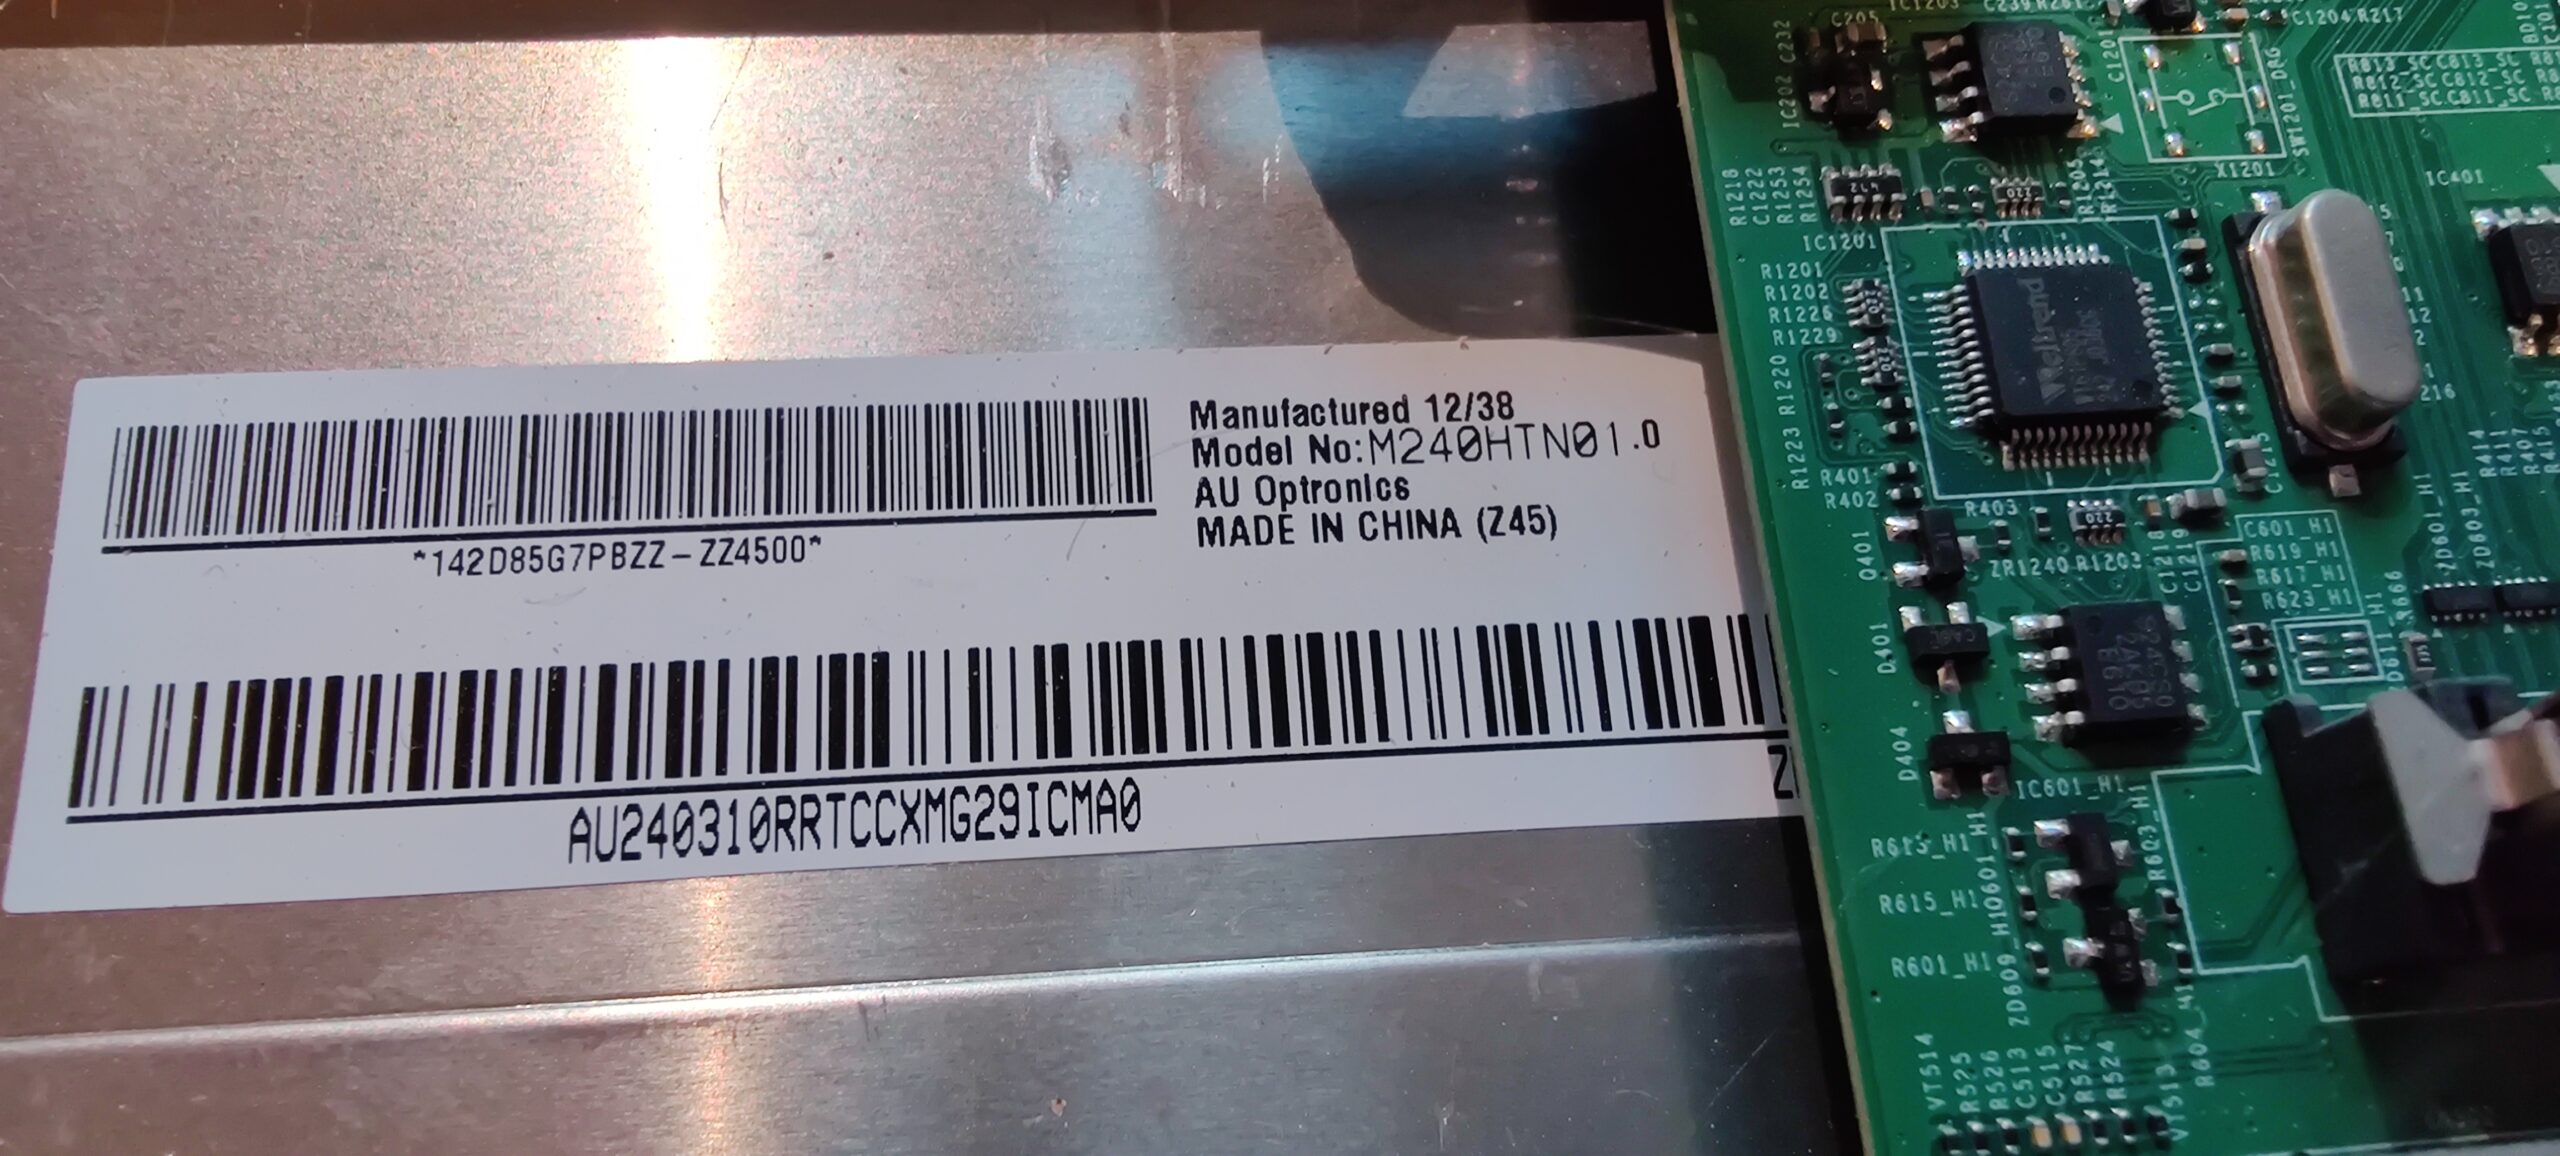
Model number M240HTN01 24″ full HD 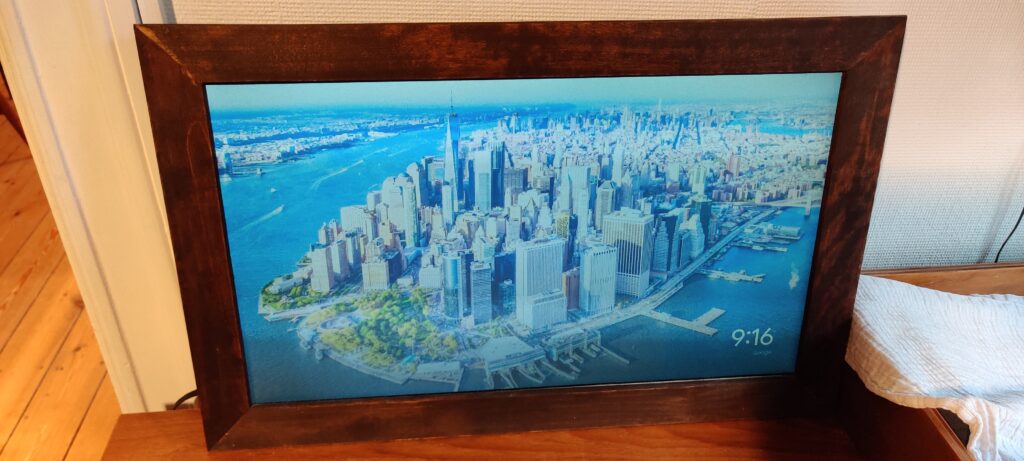
Connected to Chromecast
CONCLUSION
I really like the finished design of the tv – it’s very unique and matches the rest of our teak furniture. Many of our friends and family don’t really recognize that it’s a tv the first time they see it. I agree that it looks a lot like a small blackboard when it is turned off. The best thing about this project was that I got a tv and ended up paying nothing for it and had a fun time repairing and building it.