This post contains affiliate links. Click to see full details of my Privacy Policy.
Looking for a mindful and relaxing stitch to learn? Dive into the gentle waves of the crochet the ripple stitch. This versatile stitch pattern is perfect for creating a range of beautiful projects, from cozy blankets to stylish shawls and sweaters. With its soothing, undulating pattern, the ripple stitch adds a touch of elegance and charm to any crochet creation. So why not make a splash and try the ripple stitch for your next project?
what will I learn?
In this blog, I share the basics to create this ripple stitch pattern so that you can use it in any crochet project you choose. If you’d like to adapt it to create a ripple stitch blanket, just ensure your beginning chain length is the correct size for the type of blanket you want to make – it’s as simple as that! I’ll also share materials and tools you will need to get started, any pattern notes you need to know and any terms and abbreviations that might appear in the pattern.
Need a little guidance on blanket size? I can help! Check my blog post, How Many Chains For A Blanket? to grab a handy little guide on how to size your crochet blankets.
Sarah-Jayne
materials & tools
- Yarn: Paintbox Simply DK
- Hook: 5mm or size required for gauge
- Darning Needle
- Scissors
terms & abbreviations
Chain (ch): Yarn over, pull through.
Treble Crochet(s): tr(s): Yarn over, insert into stitch, yarn over, pull up a loop, you will have three loops on the hook. Yarn over, pull through two loops, yarn over, pull through remaining two loops.
Treble Crochet 2 Stitches Together (tr2tog): Yarn over, insert hook into stitch or space, yarn over, draw up a loop (3 loops on hook), yarn over, draw through 2 loops (2 loops on hook), yarn over, insert into next stitch or space, yarn over, draw up a loop (4 loops on hook), yarn over, draw through 2 loops (3 loops on hook), yarn over, draw through all 3 loops on hook.
Slip stitch (sl-st): Insert hook, yarn over, pull through both stitch and loop on hook.
Stitch(es) (st/s)
Space(s) (sp(s))
pattern notes
This pattern is written in UK terms.
Turning chain does count as a stitch.
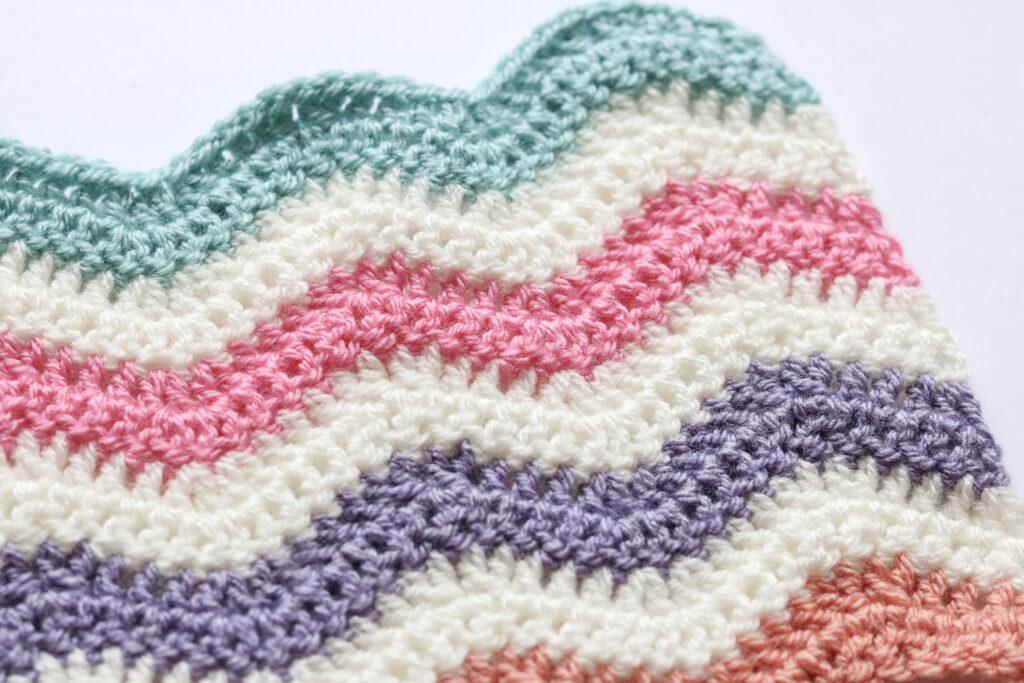
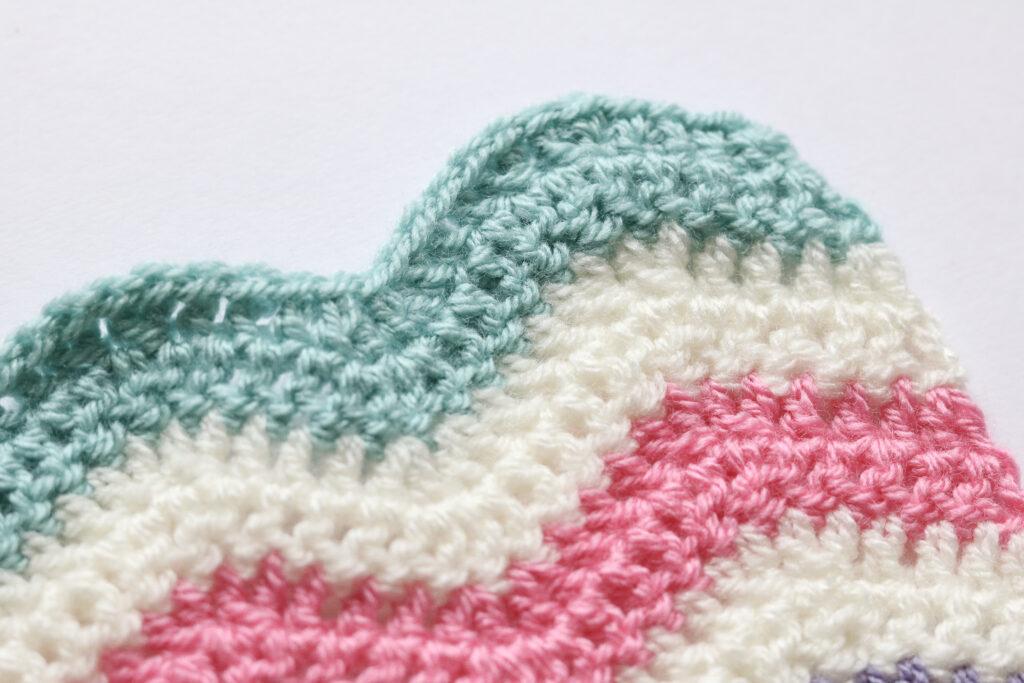
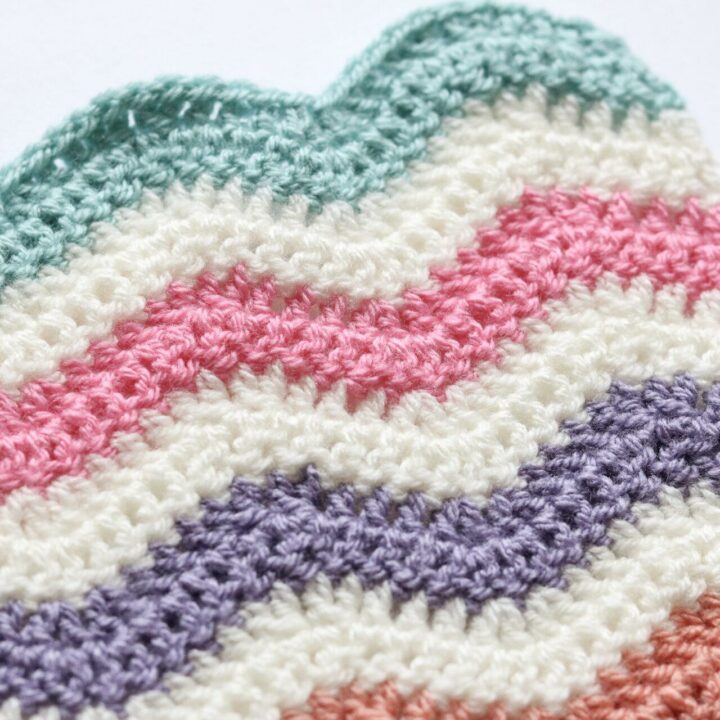
Working tr2tog twice creates the dip or lower part of the wave while working 2 tr into 2 sts creates the top or peak of the wave.
You will need to change colour as part of this project. If you’re not sure or want to learn and easy, neat way to change colour, here’s a YouTube video to help.
Unsure of the differences between UK and US terms? Need a refresher on how to do your stitches? In my ‘How to crochet: A handy reference guide’ EBook I help you with all of these terms and you can always have them to hand! You will also get exclusive access to free video instructions. Learn more about the eBook here.
pin for later
ripple stitch pattern
Foundation chain: Ch a multiple of 12 to desired length plus 3 for the turning ch. (Tutorial Video is 24 +3)
Row 1: Tr into fourth ch from hook, *work 1 tr into each of next 3 ch, [tr2tog over next two chs] twice, work 1 tr into each of next 3 ch, [work 2 tr into next ch] twice; repeat from * across. Your last stitch will be an increase.
Row 2: Ch 3, turn, tr into first st, *1 tr into each of next 3 sts, [tr2tog over next 2 sts] twice, work 1 tr into each of next 3 sts, [work 2 tr into next st] twice; repeat from * across. Make sure your final stitch is an increase in the turning ch-3 of previous row.
Repeat Row 2 to desired length.
Colour Change: Fasten off first colour, tie new colour to last st of previous colour, insert hook into stitch and draw up a loop with new colour, proceed with next row as usual.
video tutorial
Below you’ll find the video tutorial where I take you through the Ripple Blanket pattern step by step. If you haven’t quite grasped reading a pattern yet, I recommend following the video tutorial and reading the written pattern above at the same time to improve your pattern reading skills.
right handed
left handed
more inspiration
Looking for more inspiration? Check out this Pinterest board full of ideas for your next project!
more ripple, wave stitch techniques
Looking for other techniques to add to your next crochet blanket? Why not try these…

lacey ripple stitch
Learn to crochet the lacey ripple stitch to give a beautiful intricate texture to any project. It creates a gorgeous surface texture and gives me beachy, nautical vibes.
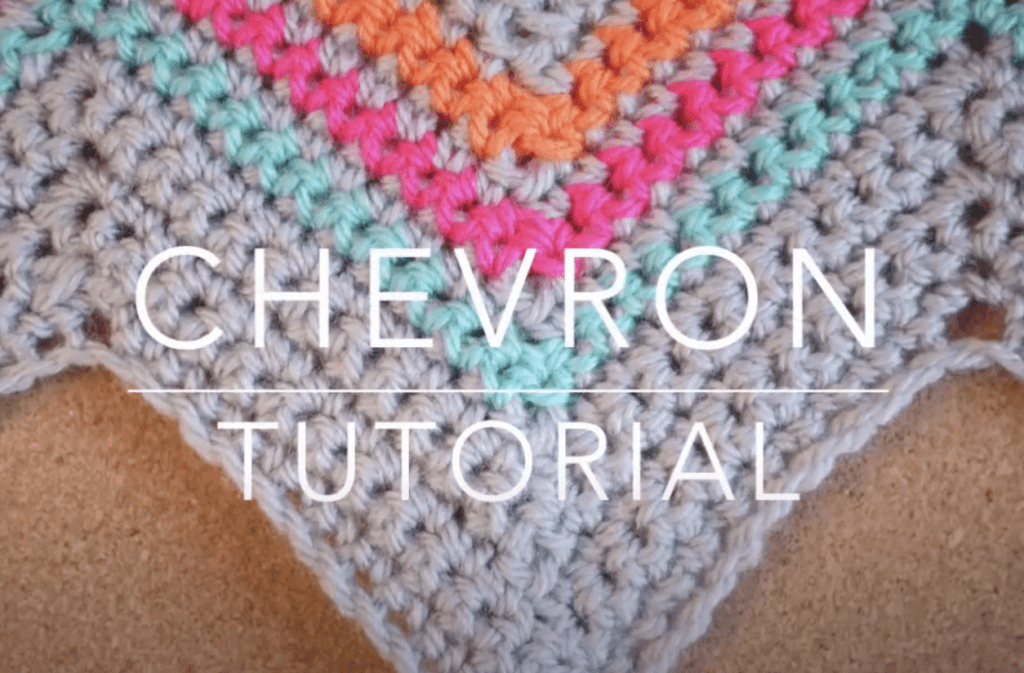
chevron stitch
This fun colourful Chevron stitch is a super cute way to add a pop of colour to any project. Suitable for beginners, this would make a really lovely scarf design.
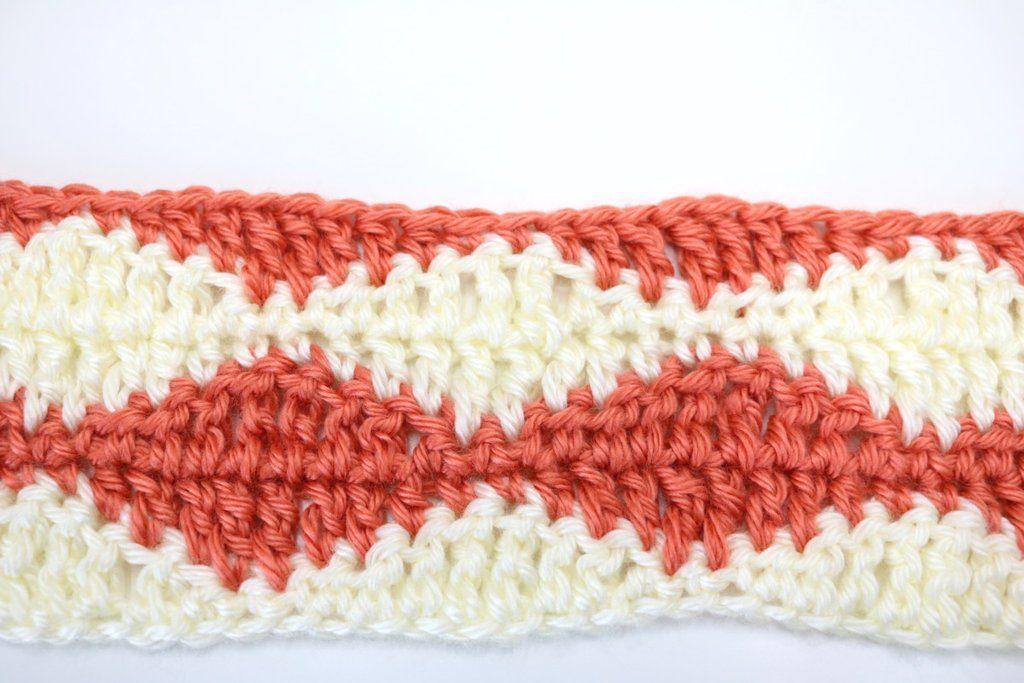
rolling waves
Whether you are using 2 colours, 3, 4 or 5 or more the Rolling Waves effect is simply beautiful. This pattern works on a 4 row repeat- once you get into the flow, its easy peasy!
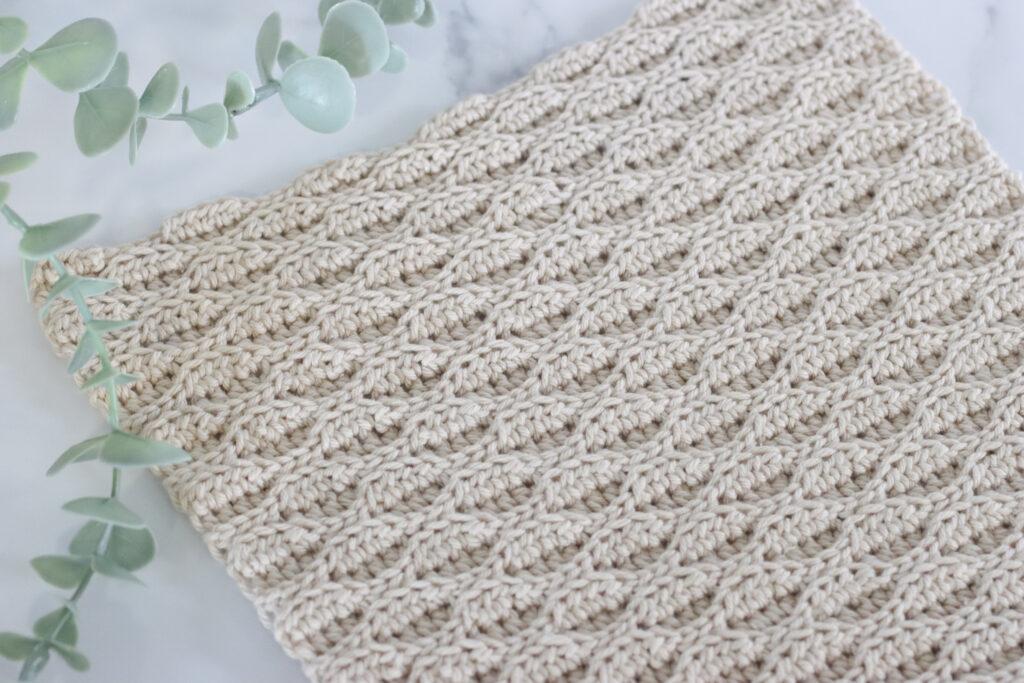
almond ridges
The almond stitch uses a four row stitch repeat to build up a beautifully ornate pattern that’s much simpler to crochet than it looks! Perfect for beginners, if you can manage the slip stitch and a half treble, you’re good to go!
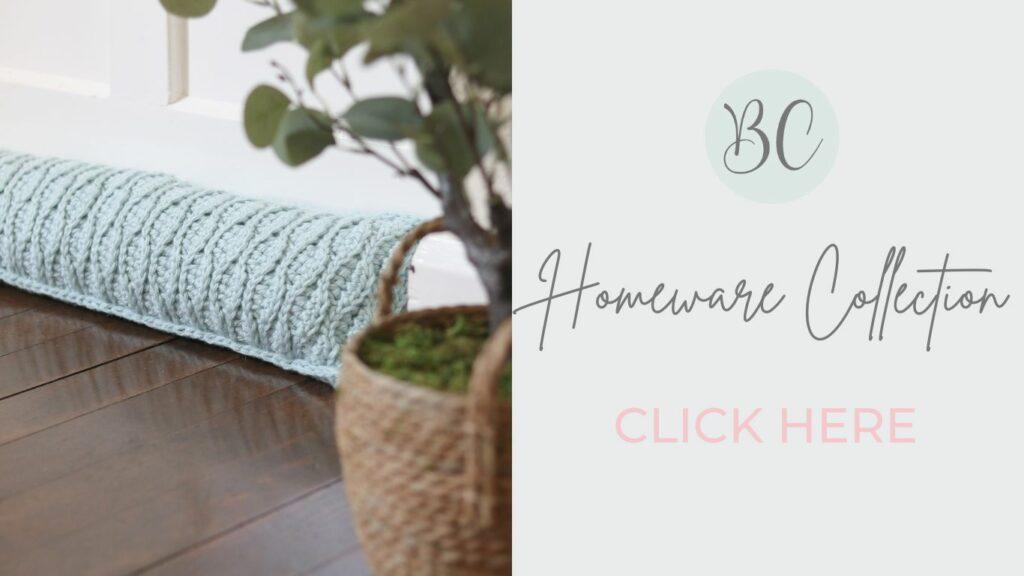
projects to try
Love the almond ridges stitch? Why not grab the Homeware Collection and make the draft excluder project?
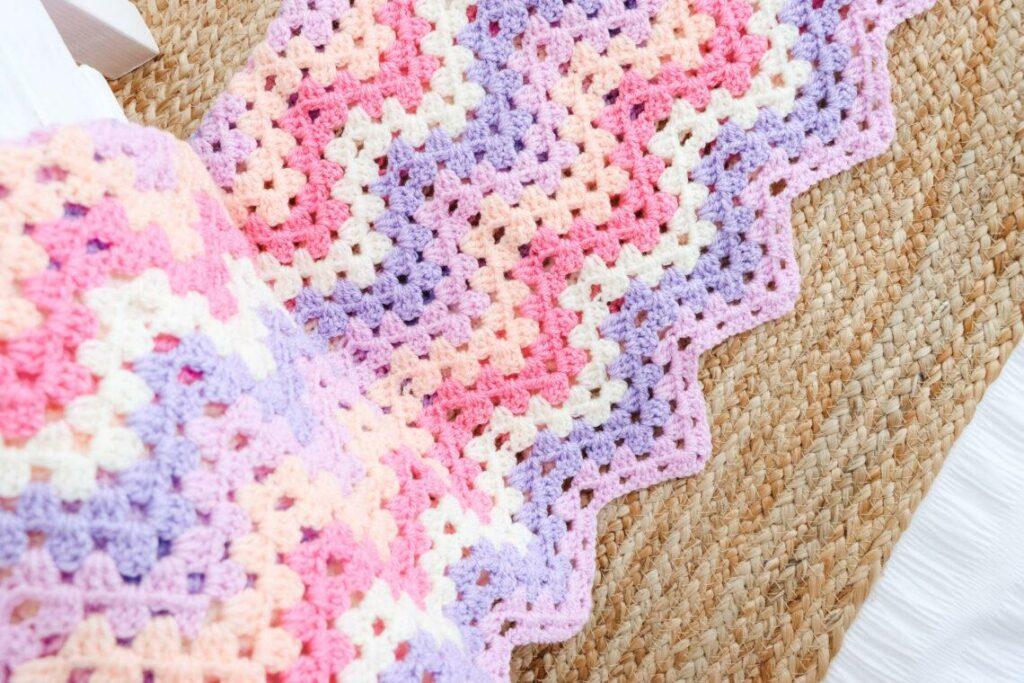
granny ripple blanket
With its easy-to-follow repeat pattern, the granny ripple is a fun and satisfying way to create a blanket. This beautiful stitch pattern creates a delightful blend of texture and colour.
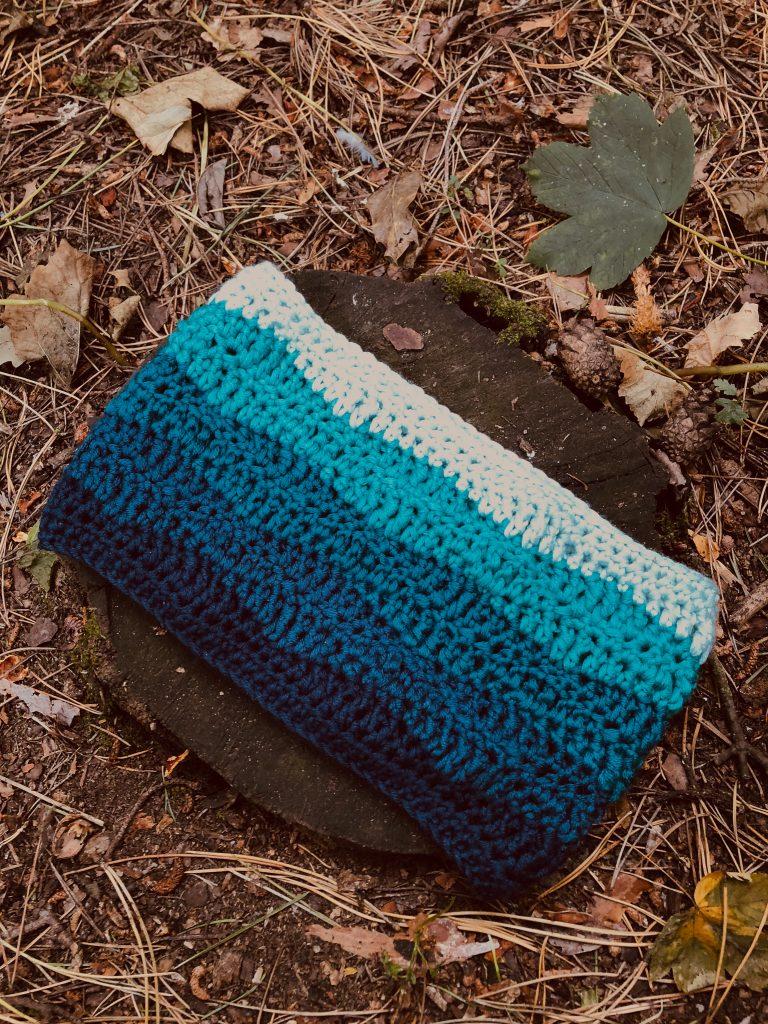
the brook cowl
Hayley Hall from @hellomooncrochet has designed this gorgeous Crochet Brook Cowl using the beautiful rolling waves stitch. This has a lovely ombre look using a different colour for each of the waves. This quick and easy wearable makes a gorgeous gift.
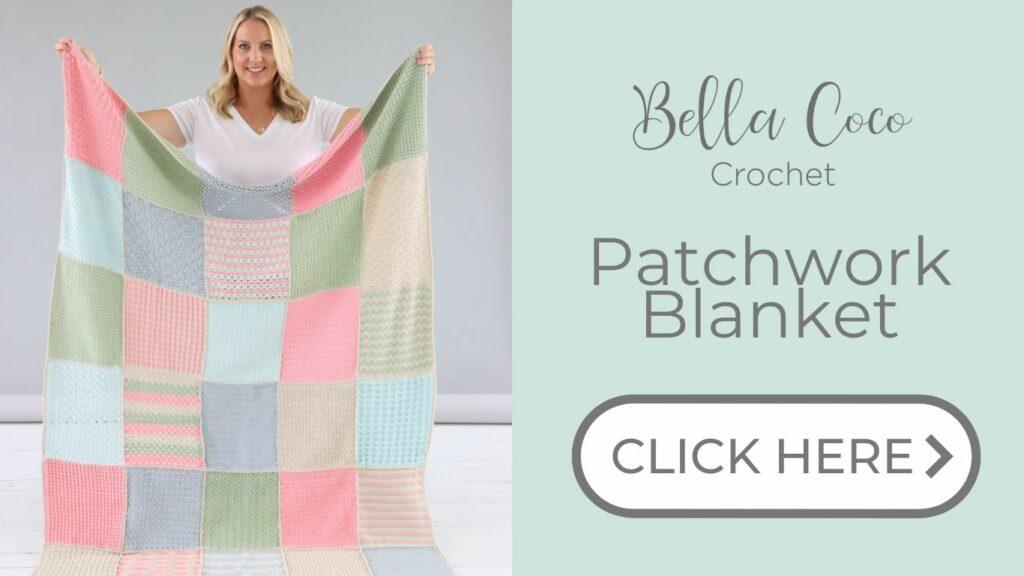
If you’re looking for a project to work on gradually whilst learning new crochet stitches then the Patchwork Blanket might be the project you’re looking for. Crochet 30 stitches and construct this beautiful Patchwork Blanket following my 65 page Ebook. Click below to find out more or alternatively click the image below.

I always love to see your makes so if you try any of my patterns or follow my stitch tutorials please tag me @bellacococrochet or use the #bellacococrochet
sarah-jayne
Learn how to Crochet the Ripple Stitch
Looking for a mindful and relaxing stitch to learn? Dive into the gentle waves of the crochet the ripple stitch. This versatile stitch pattern is perfect for creating a range of beautiful projects, from cozy blankets to stylish shawls and sweaters.
Materials
- Yarn: Paintbox Simply DK
Tools
- Hook: 5mm or size required for gauge
- Darning Needle
- Scissors
Instructions
- Foundation chain: Ch a multiple of 12 to desired length plus 3 for the turning ch. (Tutorial Video is 24 +3)
- Row 1: Tr into fourth ch from hook, *work 1 tr into each of next 3 ch, [tr2tog over next two chs] twice, work 1 tr into each of next 3 ch, [work 2 tr into next ch] twice; repeat from * across. Your last stitch will be an increase.
- Row 2: Ch 3, turn, tr into first st, *1 tr into each of next 3 sts, [tr2tog over next 2 sts] twice, work 1 tr into each of next 3 sts, [work 2 tr into next st] twice; repeat from * across. Make sure your final stitch is an increase in the turning ch-3 of previous row.
- Repeat Row 2 to desired length.
- Colour Change: Fasten off first colour, tie new colour to last st of previous colour, insert hook into stitch and draw up a loop with new colour, proceed with next row as usual.
Notes
This pattern is written in UK terms.
Turning chain does count as a stitch.
Working tr2tog twice creates the dip or lower part of the wave while working 2 tr into 2 sts creates the top or peak of the wave.


4 Comments
jennifer smith
May 17, 2021 at 4:49 amcould you please tell me how to start doing rows of ripple stitch on to several rows od trebbles.
Is it just doing your adding straight row added to ripple stitches? many thanks, your instructions are very clear,
jenny, Queensland, Australia
BellaCocoTeam
May 18, 2021 at 3:08 pmHi Jennifer Normally when working the ripple stitch you have to begin by working into the starting chain, due to the design of the pattern. I’m not sure if you would be able to work the ripple stitch into rows of plain trebles, as it wouldn’t sit flat
arlene
October 29, 2022 at 11:17 pmI want to make a scarf using this pattern. 12×3 +3st. Are you doing [work 2 tr into next ch] twice; repeat from 4 times? Thanks Beautiful pattern!
BellaCocoTeam
November 2, 2022 at 8:16 pmHi Arlene You’re welcome! You can find the full written instructions to this pattern over on my website here: https://blog.bellacococrochet.com/the-ripple-stitch/