Batik is one of those art making processes that requires a lot of preparation and supervision on your part but is totally worth the sacrifice. It’s fascinating and engaging and will undoubtedly interest your students.
If you’ve never done batik before, or just need a refresher, this guide is for you. Don’t let the hot wax scare you from trying this technique with younger students. I’ve done batik with classes as young as 4th grade, and my 2nd-grade daughter has even done it with me in a one-on-one setting.
Though it is a lot of work, the batik experience will be memorable for your students and something you will enjoy as a teacher as well. Here’s what to do.
1. Gather Your Materials and Set Up Your Workspaces
Although there is a lot to prep, once things are set up, the process runs fairly smoothly.
Materials
- Pencil and Paper
- Muslin
- Scissors (fabric scissors, if you have them)
- Newspaper
- Drop Coth, Tarp, or Plastic Sheet
- Fabric Dyes
- Containers with Lids for the Dyes
- Water and Whisk (to mix the dyes)
- Beeswax (you can buy specific batik wax)
- Crock Pot or Hot Plate and Pot (to melt the wax)
- Tjanting Needles
- Paintbrushes for Dye
- Latex-Free Rubber Gloves (optional)
- Large Paintbrush for Hot Wax
- Clothes Iron
Workspaces
I’ve found it’s best to set up four distinct workspaces for the different parts of the batiking process.
- Drawing Space
I like having students draw right at their seats. Alternately, you can set up a special part of your room that’s for drawing only. - Waxing Space
It’s essential to set up a separate space for the hot wax. I recommend laying down plastic or a drop cloth to combat drips. - Dyeing Space
It’s also essential to contain the dye in one area of your room. Here, plastic or a drop cloth is vital. - Finishing Space
Finally, you will need a larger area where students can use an iron to remove wax and put finishing touches on their projects.
2. Cut Fabric and Draw
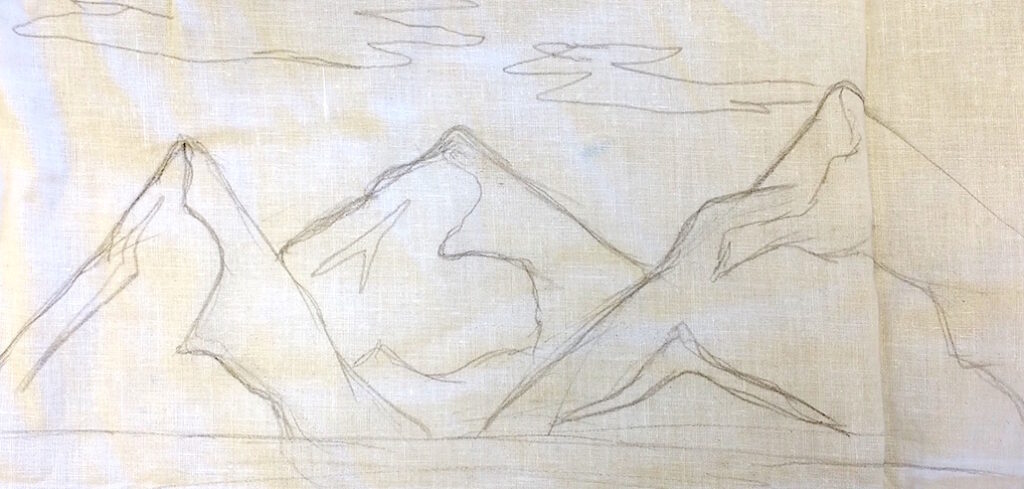
Cut pieces of muslin to size. I’ve found that 9″ x 12″ is a good size for a first project. Have students tape the fabric to a board or place it on a table or work area. Then, have students draw their designs directly onto the muslin with pencil. Alternately, they can place a sketch under the muslin and trace it onto the fabric. The sketches should be as light as possible so the pencil lines do not show through on the final product. I generally give my students their choice of subject matter, but simple landscapes and animals always work well. Encourage students to avoid including too many small details.
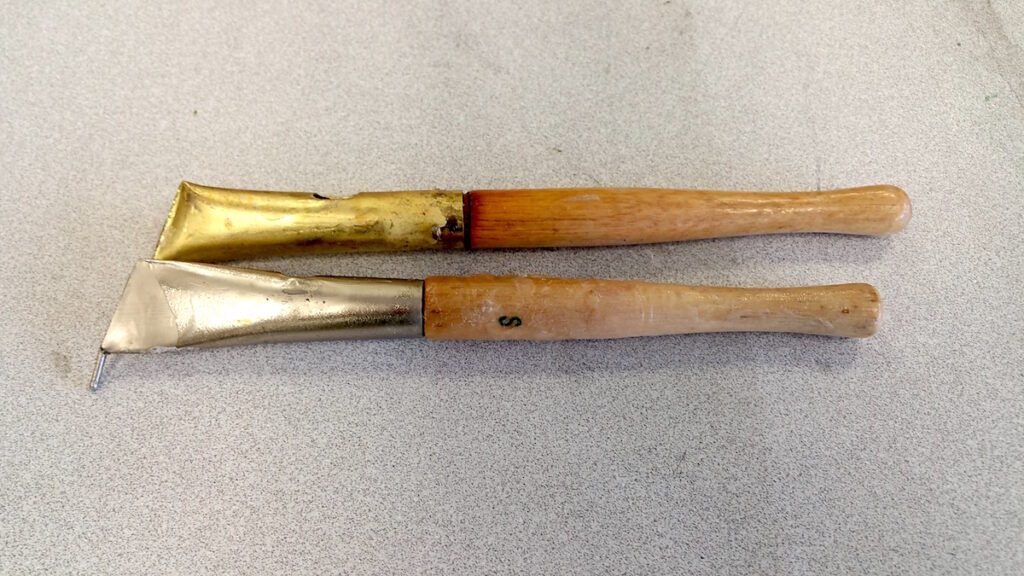
3. Apply the First Layer of Wax
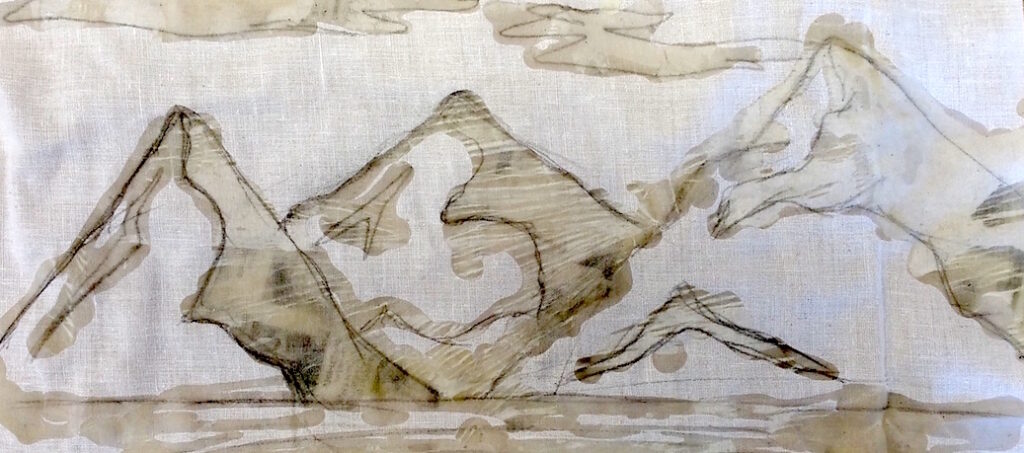
Students will use the tjanting needles to “draw” with liquid wax directly on the muslin. Be aware there are different sizes for different levels of detail.
The wax provides a resist, and anything that is covered with it will end up white in the final piece. You may want to provide students with scrap muslin to practice on, as the tjanting needles take some getting used to. Once ready, students can begin on their final pieces. After they have gone over all of their pencil lines, extra drips, dots, and lines of wax can be added for visual interest.
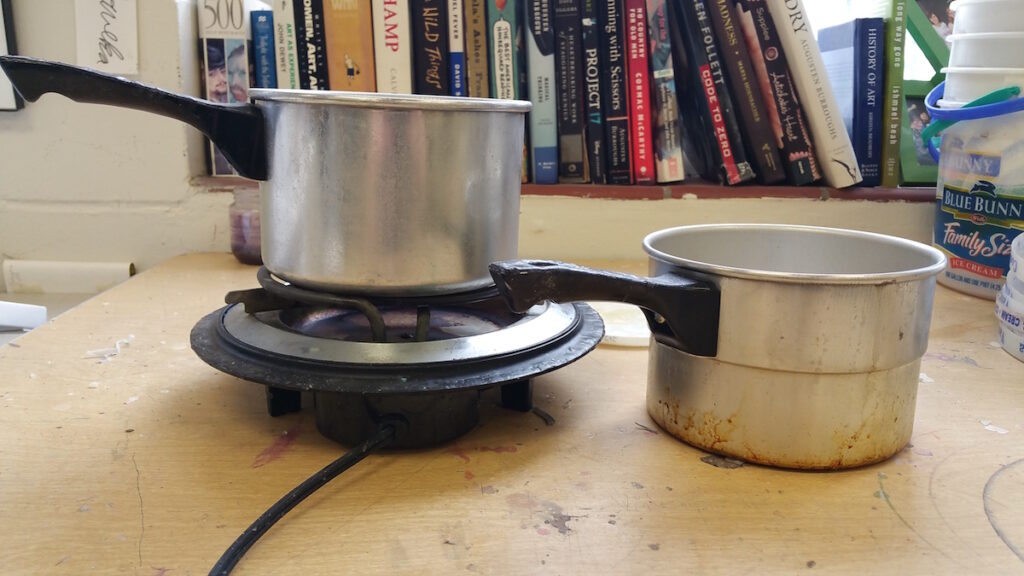
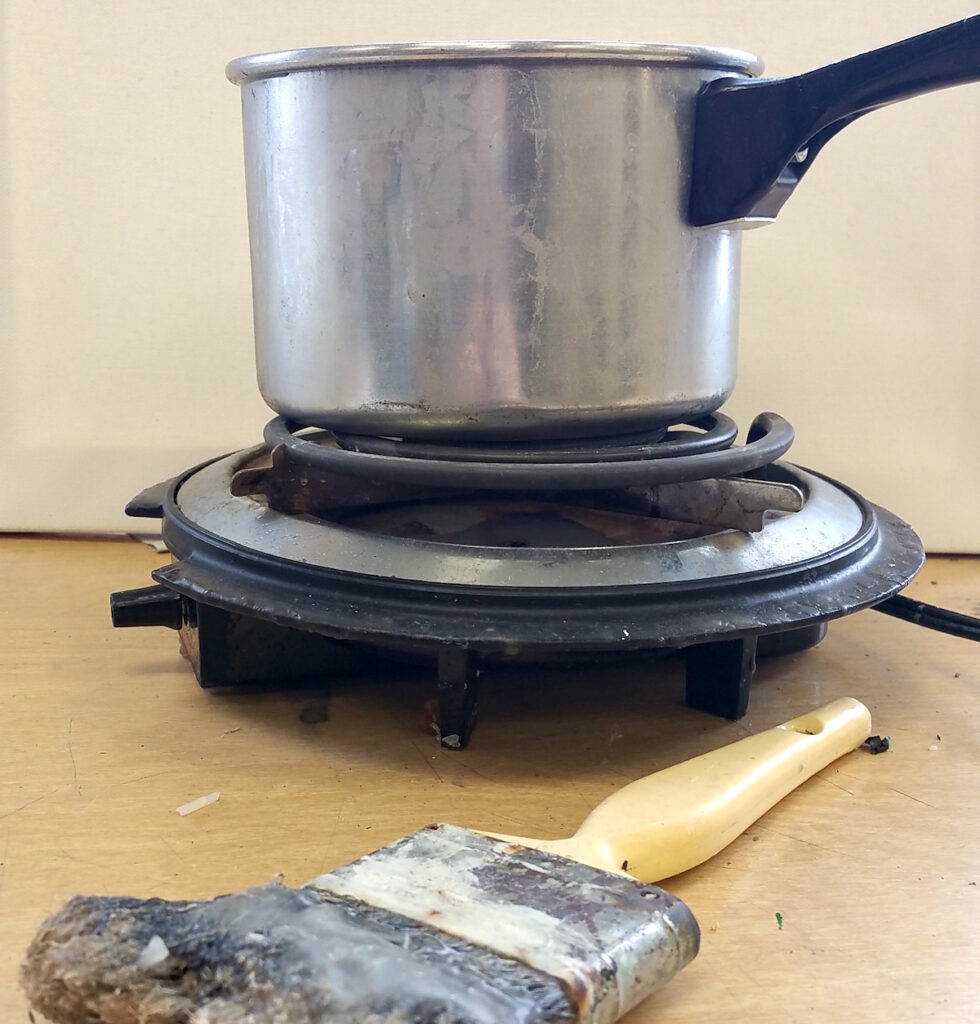
I have my wax in a small pot on a hot plate, but there are safer and better options. An old crock pot works well–it doesn’t get too hot, and the chance of spilling is minimal.
If you’re looking for even more advanced fibers techniques to bring into your classroom, you’ll want to check out AOE’s course, Studio: Fibers. You’ll learn about 2D and 3D weaving, embroidery, felting, and more. As with all of our Studio courses, you’ll push your personal practice to the next level while revamping your curriculum.
4. Add the Dye
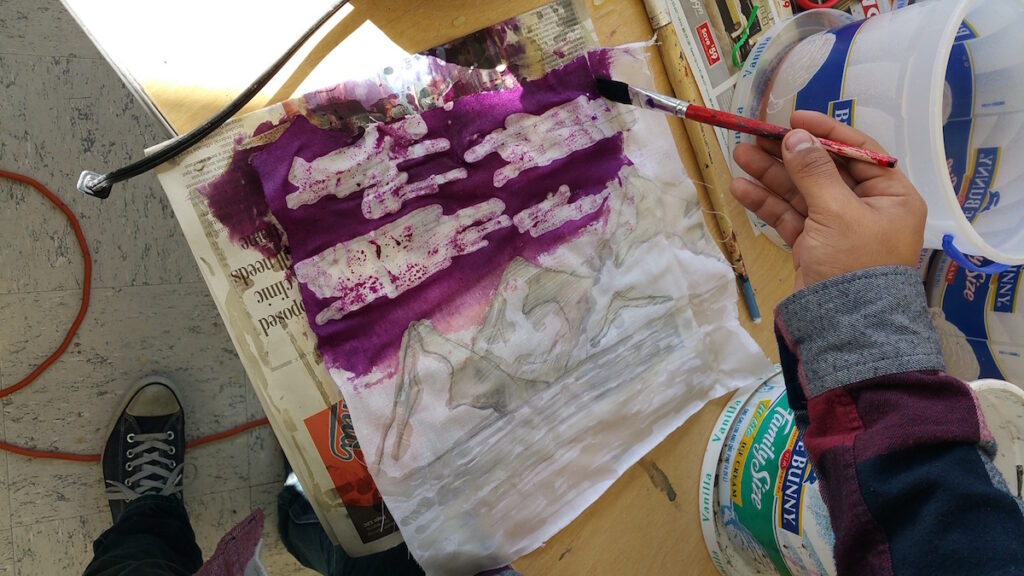
After the first wax layer is complete, it’s time to add the dye. Although much traditional batik is placed in a dye bath, you can also use paintbrushes to place color in a specific and detailed way. Painting with the dye is similar to painting with watercolor. However, the muslin does absorb the dye very quickly, so you may want to have your students practice a bit here too. Once they get the hang of it, they’ll enjoy layering and mixing colors.
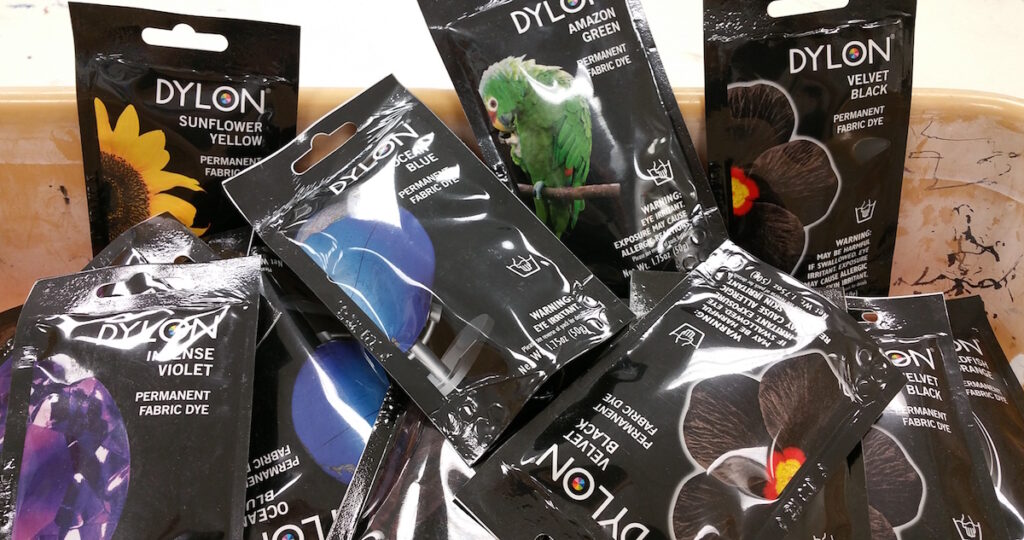
I recommend Dylon Cold Fabric Dyes. They are easy to mix (hot water and a whisk), stay good for a long period of time, and are vibrant and intense.
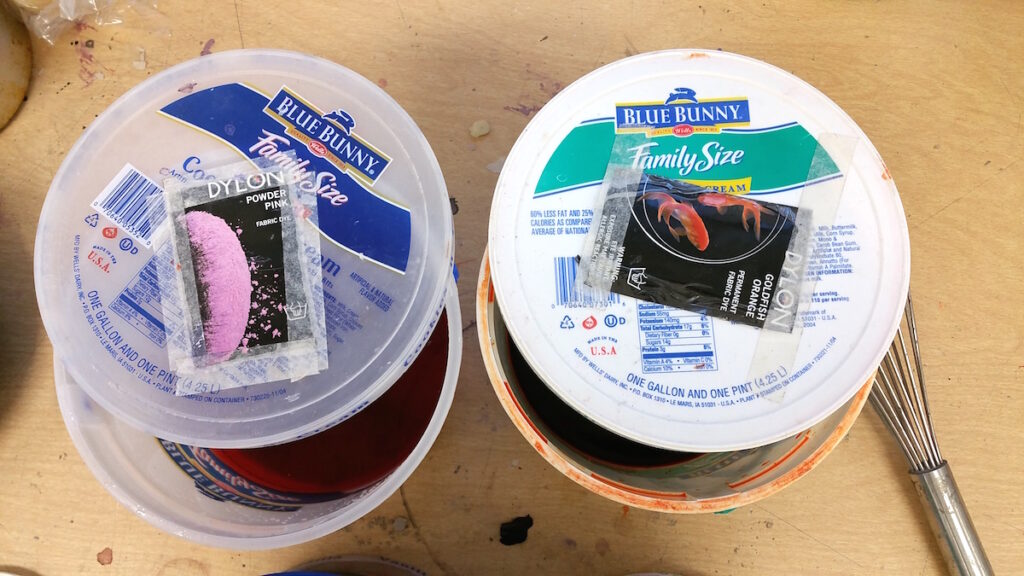
After mixing according to packet directions, store dyes in well-labeled, covered containers to avoid evaporation. I cut out the labels from the dye packets and label both the containers and the lids.
5. Apply the Second Layer of Wax
After the dye is dry, it’s time for the second layer of wax. This time, it is painted over the entire piece of dyed muslin, on both the front and the back. Two coats work best, but you can often get away with one. I recommend having just one brush dedicated to this job. I like a three-inch brush that can cover large areas quickly.
This layer of wax creates a seal over the entire piece, which will be cracked and broken to allow a crackle effect in selected areas.
6. Complete the Crackle Effect
After the second layer of wax has hardened and cooled, you can begin to work on the crackle effect. Have students bend and fold the fabric to cause the wax to crack and break. This will allow the black dye to penetrate the wax seal in those specific, cracked areas.
If you are feeling adventurous, you can hand out latex-free rubber gloves and have students dip their entire pieces into a bucket of black dye. This completes the job quickly, but it will find EVERY imperfection in the wax seal. Students may end up with more black on their pieces than they want.
For more precision, simply have students use a brush to paint or dab the black dye over the cracks. This takes longer but allows a greater measure of control over the amount and placement of the black dye and the crackle effect.
7. Remove Wax
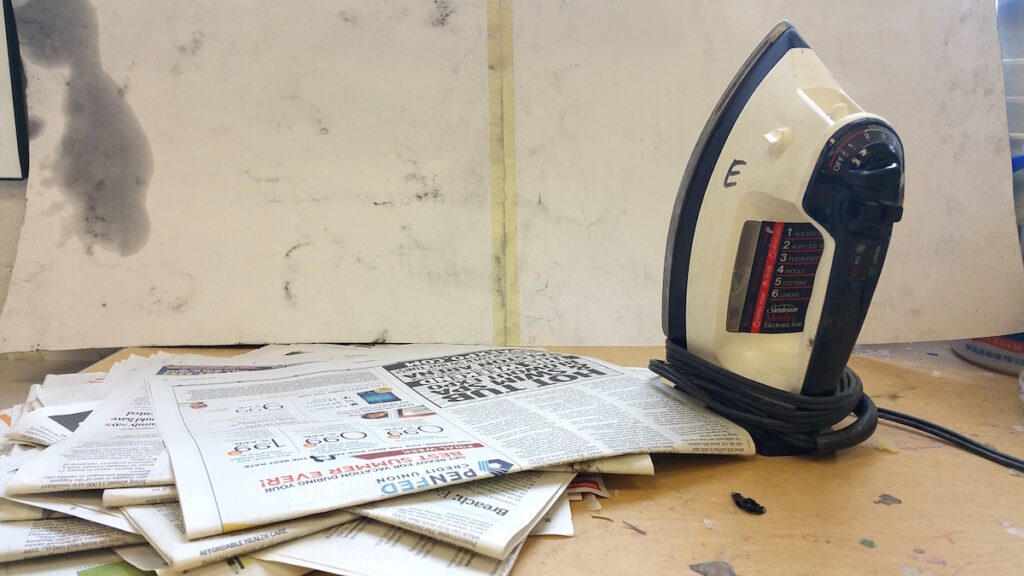
Removing the wax is simple, but time-consuming. You need to iron, iron, iron…and then iron some more. Have students place the batik in between layers of newspaper, then iron over the piece, allowing the newspaper to absorb the liquid wax as it heats up. Once the newspaper is completely saturated, switch it out for fresh newspaper. It will take numerous repeats to remove all of the wax from the fabric. Once you have removed it all, the piece is finished.
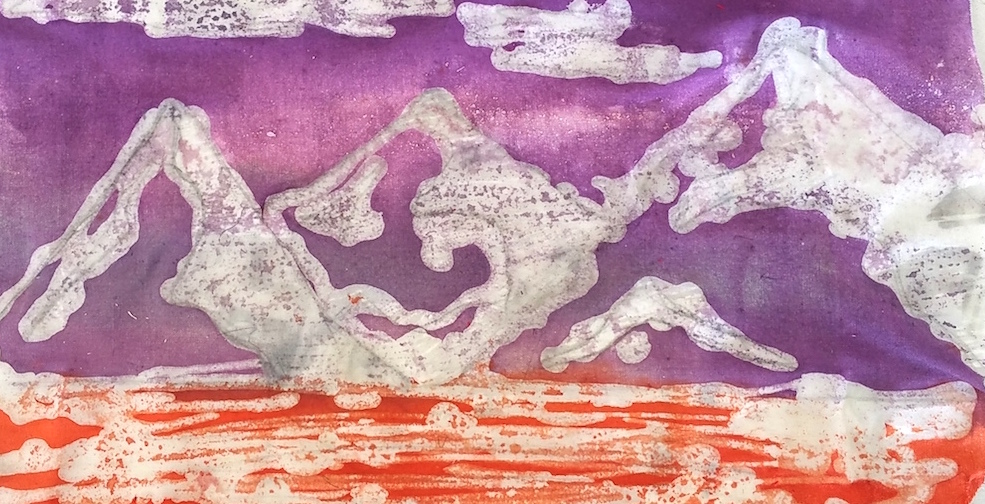
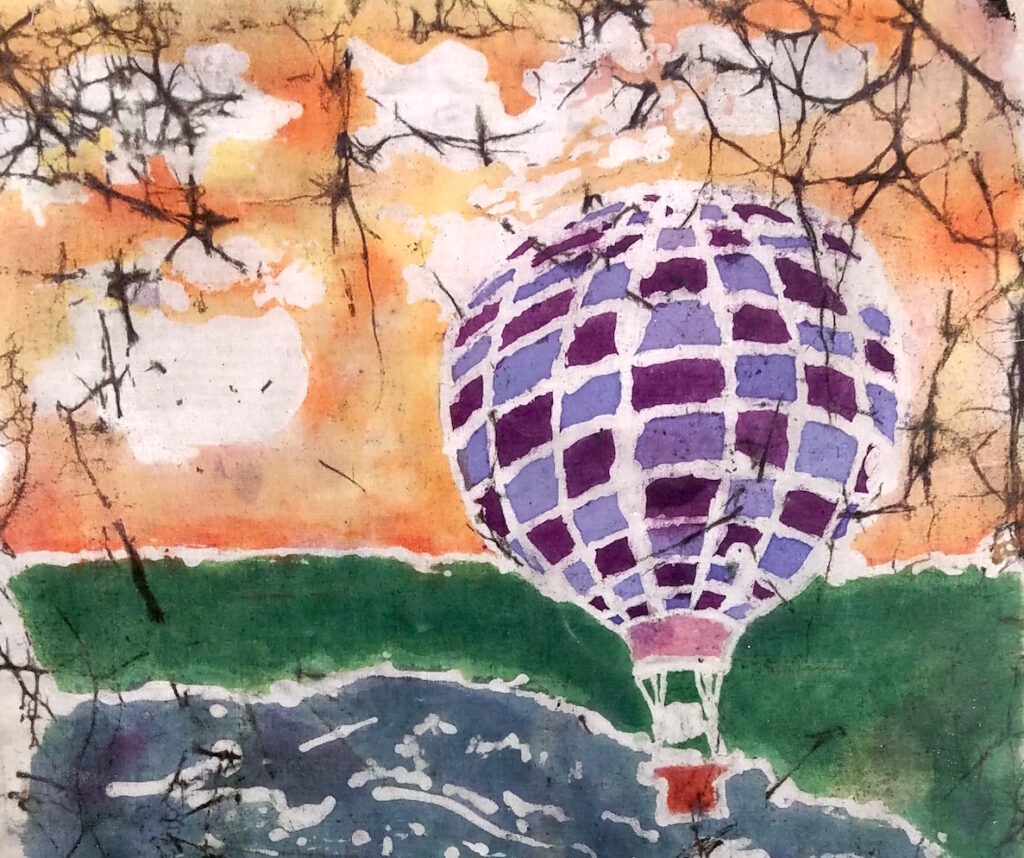
8. Enjoy the Finished Piece!
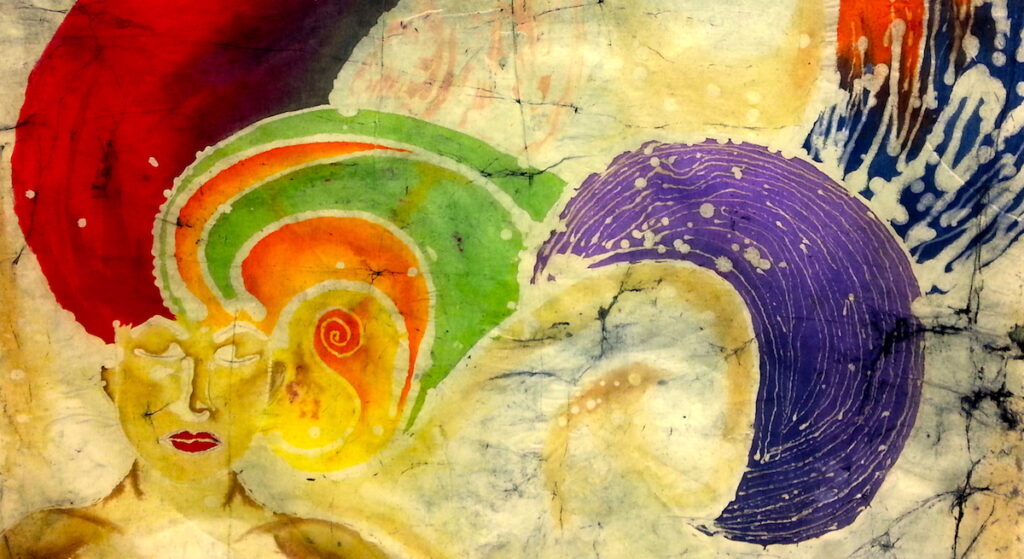
Finished pieces can be mounted to a variety of surfaces including cardboard, matboard, and illustration board. To do so, stretch the fabric over the board and glue the edges to the back. However, many students love to take the fabric home with them as it is, without mounting. They love the tactile quality and the novelty of having a completed artwork on fabric.
Batik is a unique, enjoyable experience from beginning to end. Although it takes a lot of work, your students will be thrilled with the results.
Have you ever tried batik?
What tips and tricks do you have to share?
Magazine articles and podcasts are opinions of professional education contributors and do not necessarily represent the position of the Art of Education University (AOEU) or its academic offerings. Contributors use terms in the way they are most often talked about in the scope of their educational experiences.