Defeated by Foam: A Zenza Bronica S2 Story
Let me tell you a story about disappointment in film photography, and learning that failure isn’t failure if you keep going. Over the course of three days, I went on a journey across Manhattan, and it all started with a faulty focus on a new, old camera: the Zenza Bronica S2.
I recently pulled the trigger on what I would call an expensive eBay purchase of a medium format camera. The auction listing described it as “mint, in original box, from Japan.” Those three things on their own don’t mean very much, but for the amateur camera buyer, they are the trifecta of quality.
I kept going back to the listing for the better part of a week, the pressure to buy was building. I compared it to others in the medium format camera category like offerings from Mamiya, Pentax, and Hasselblad, and electronic models from Bronica (this one is fully mechanical).
In the weeks leading up to my purchase, I sold a dozen packs of Polaroid Spectra B&W film that I had accumulated (discontinued) and other cameras that were laying around so that I could afford my new, old camera purchase. I was getting close to making up my mind on what that purchase would be. I reviewed the listing photos over and over, did a few days’ worth of research on the specific model, and finally clicked the “buy now” button late one evening.
The pressure was finally released. Now all I had to do was to wait patiently for DHL to get me my goods.
The camera arrived in record speed, only a few days later from Nagoya, Japan. Getting a new camera in the mail is like Christmas and Halloween combined. I carefully opened the cardboard box and bubblewrap, catching a whiff of that new, old camera smell. If you know, you know.
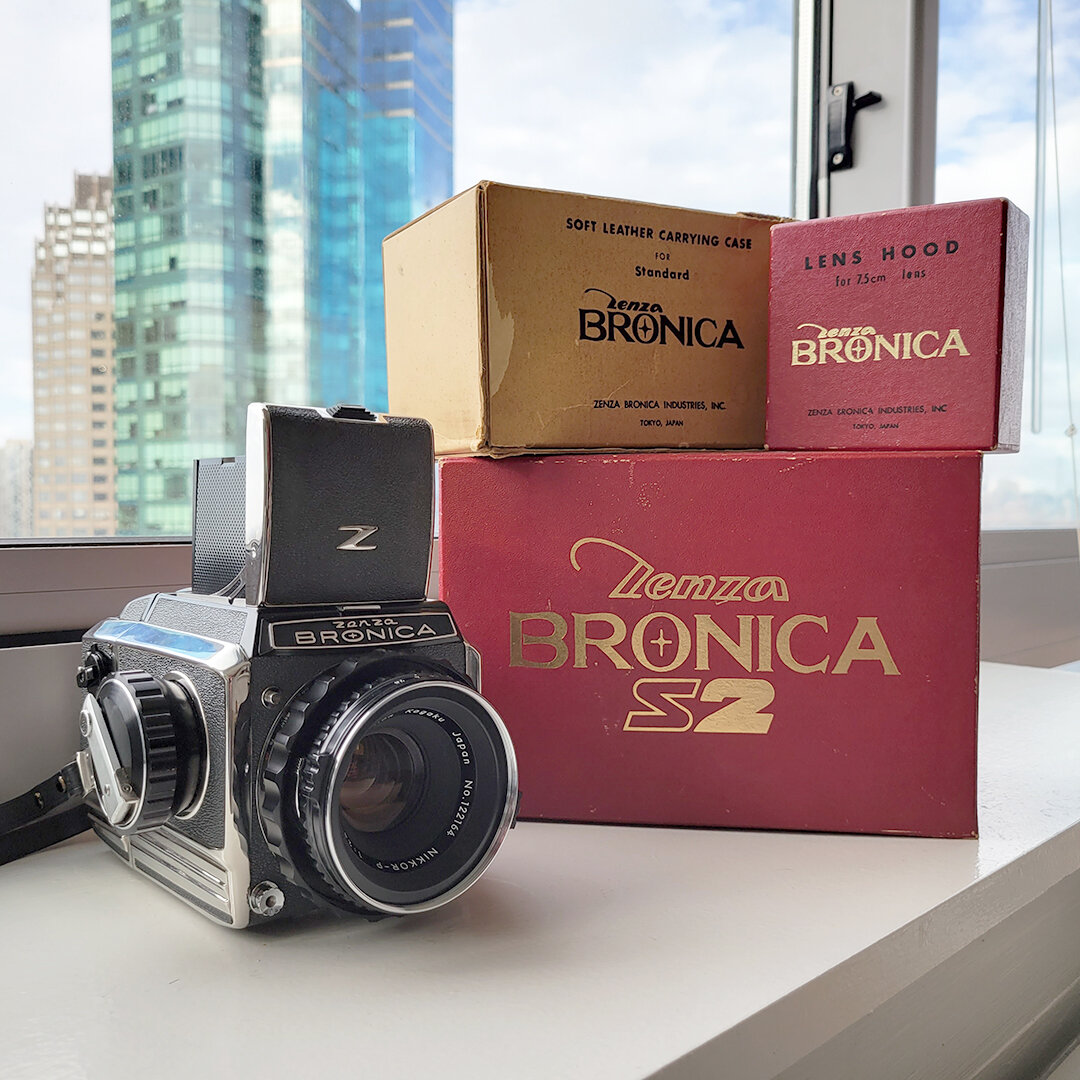

The Zenza Bronica S2 is a beautiful camera. It’s completely mechanical, with no electronic parts, which means repairs aren’t as complicated, even though parts can be scarce. The camera body had no scuffs or dents, and the chrome shone brightly. In his review of the camera from earlier this year, Mike Eckman found an old reference to the body as reminiscent of vintage automobiles. The comparison was apt. It’s a stunner.
Yet almost immediately, I noticed a potential problem with this “mint, in box, from Japan” medium format dream camera: its viewfinder wouldn’t focus on infinity. Aka objects in mirror are blurrier than they appear. In photographer terms, this is what we’d call an “aw crap” moment.
I think my Bronica is broken.
The Fatal Flaw of the Zenza Bronica S2
Who knew that my hopes and dreams of shooting with a Hasselblad clone (disclaimer: this is a controversial statement) would be crushed by foam?
Well, I should have, because the film photography forums were practically yelling at me about it in the days before I bought the Bronica. Here’s what I had learned and immediately ignored.
The focusing screen in the Zenza Bronica S2 (and S2A) is held up by foam. You can’t see it, but it’s practically the same kind that you see in the backs of SLRs and point-and-shoot cameras to prevent light leaks. This foam also holds up the mirror in the camera, which flips up to expose the film to the light. Also known as the picture taking part.
This camera was originally released in 1965. That’s…does mental math… like 60 years ago (?). Over time, the foam gets crushed and crumbles away. A mirror or focusing screen that are slightly off their setting can mean the difference between tack sharp photos and being off by several feet (or miles).
Crushed foam, crushed dreams. It happens.
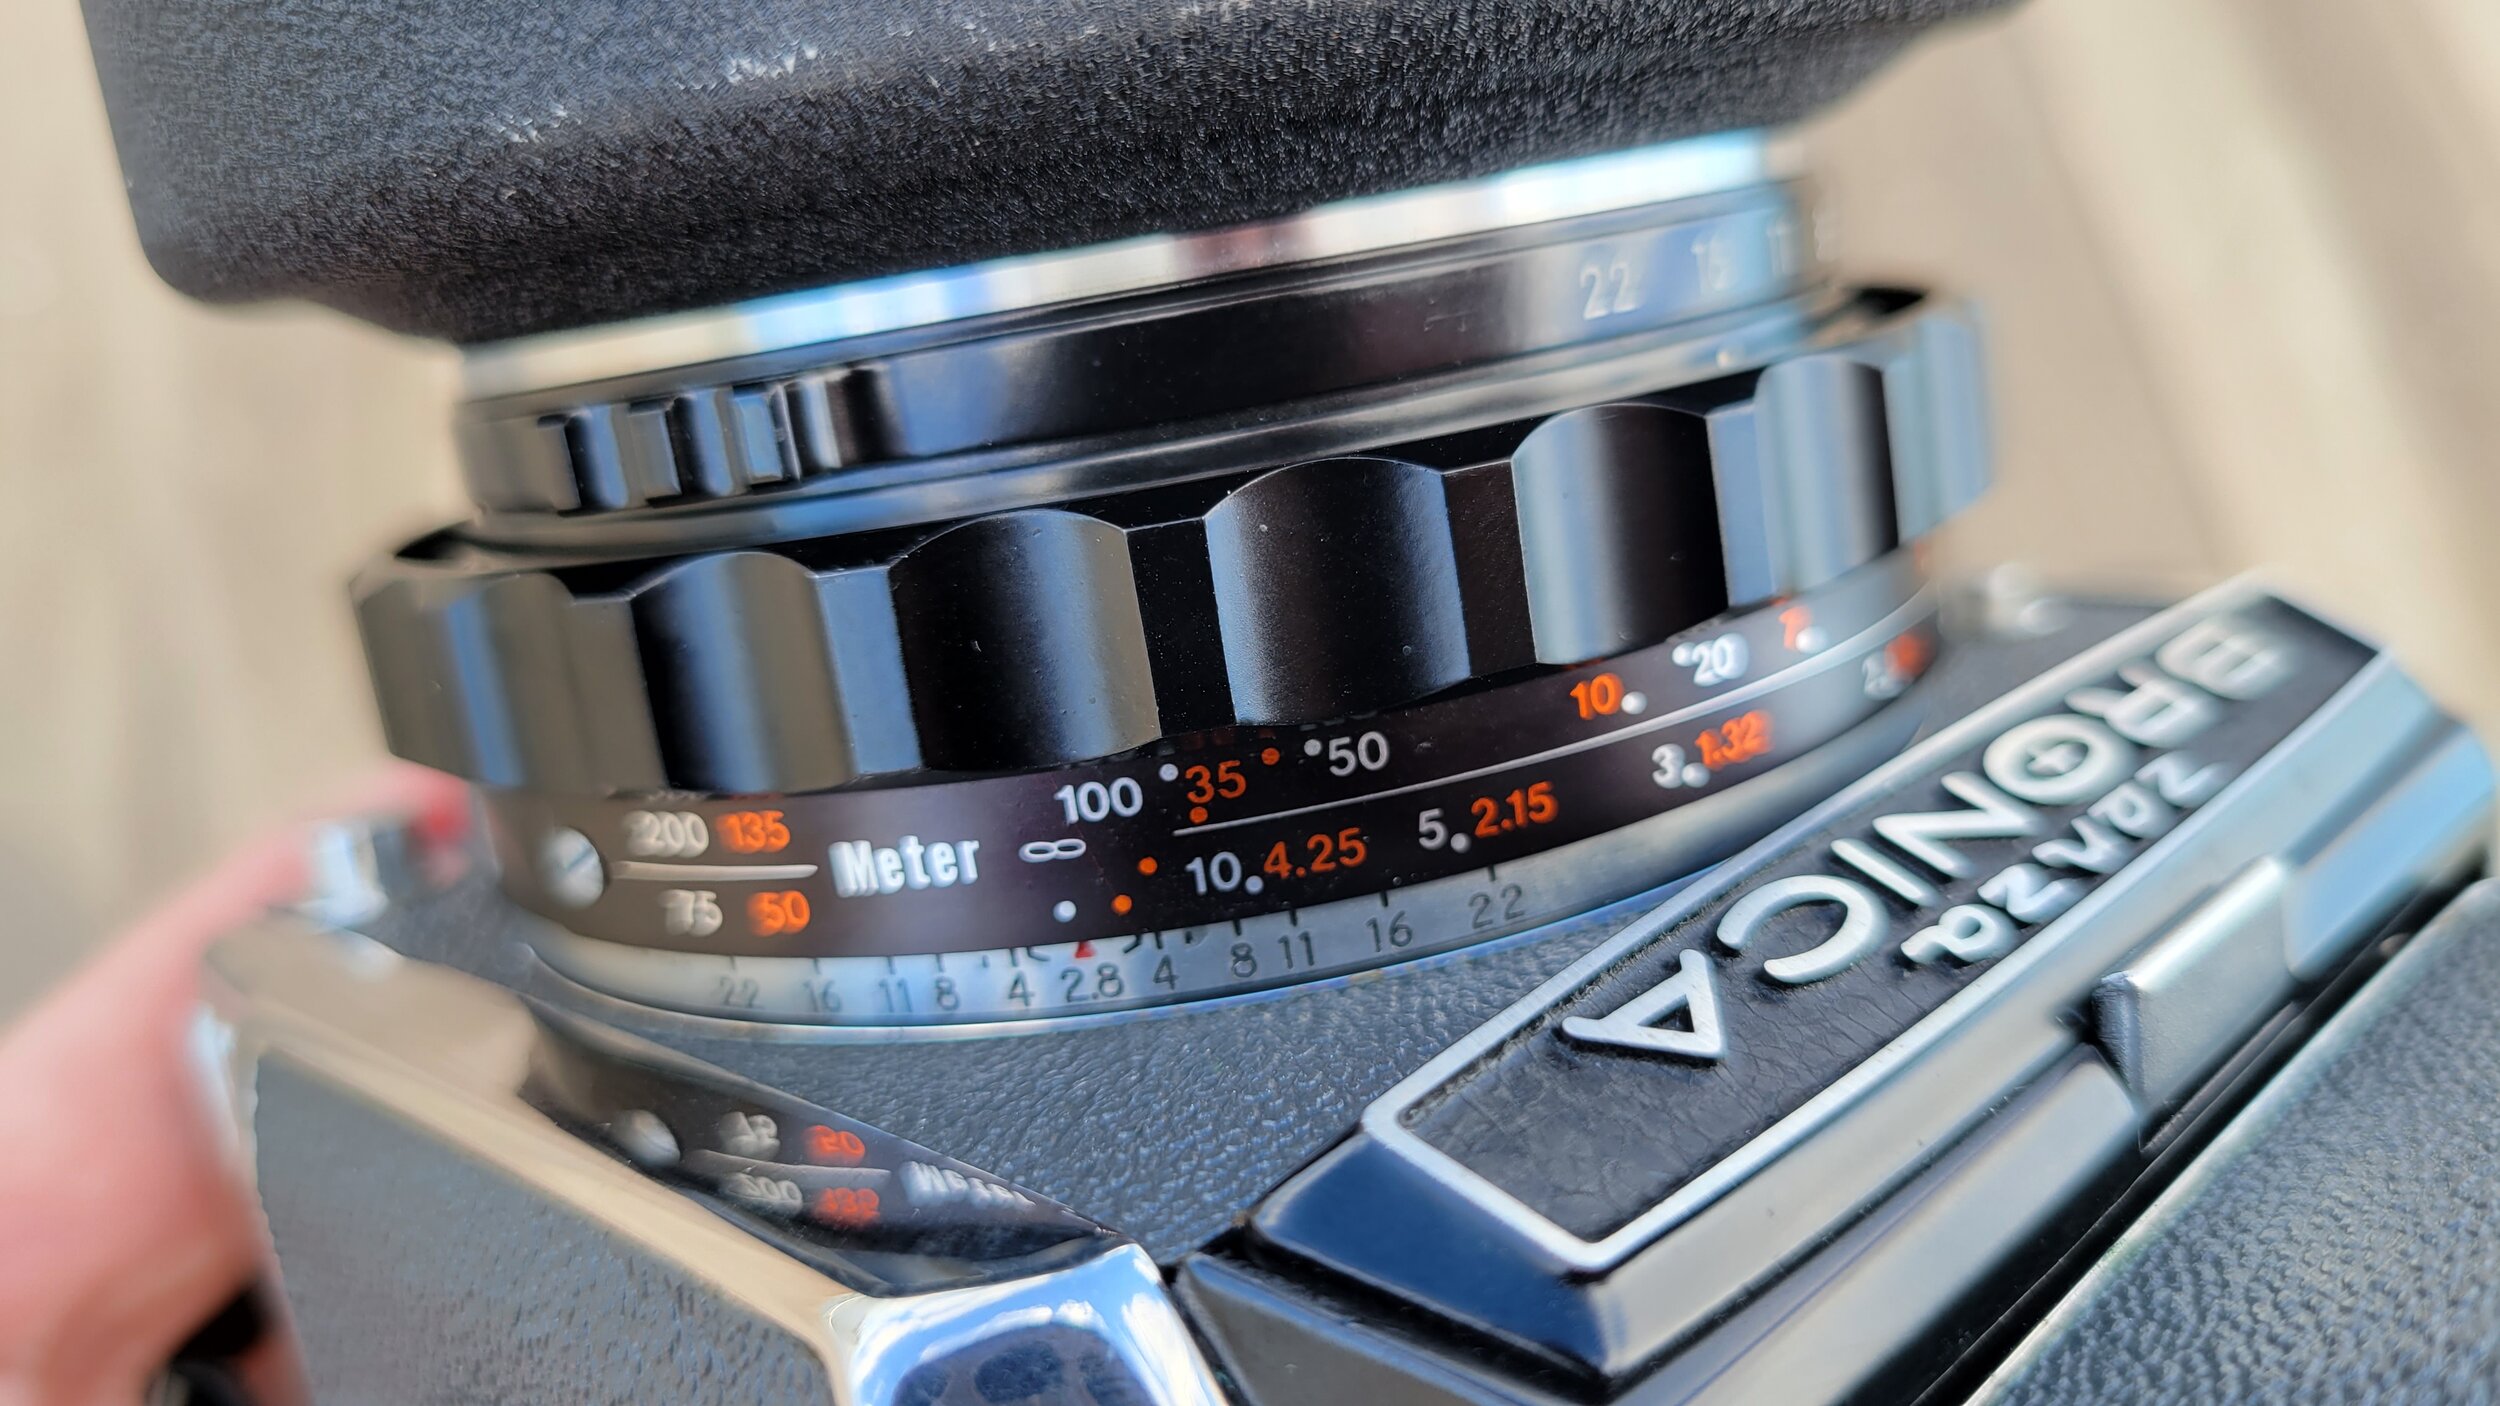
The focus ring on the Zenza Bronica S2.
And then what happened?
Well, I immediately reached out to the seller on eBay and returned the camera for a refund, thereby saving myself lots of disappoint and money.
Hah. That’s what a brain-genius might do. But a brain-genius I am not. So, I did not do. That. Instead, join me on my misadventure and see if you can spot all of the times that I could have and should have saved myself, but didn’t.
While I did reach out to the seller to document the issue, I wondered if the problem with the Bronica S2 was only when it came to focusing on infinity. Maybe focusing on other, much closer things, would be just fine? I’m not a math guy, or even a common sense guy, but it stood to reason that maybe the focusing ring just couldn’t reach infinity and everything else was just fine.
“I know,” I exclaimed “I should put in a roll of film and test it. But which roll? Perhaps the recently discontinued Fuji Pro 400H which is incredibly scarce and expensive? Certainly!”
Mixed narrative styles aside, I decided to take advantage of the seller’s 30-day return policy to test out a roll and do my own due diligence on the camera. If the only issue was infinity focus, I’d be comfortable taking the focal hit and keeping the camera. After all, I don’t do very much landscape or night sky photography. Who needs infinity?
I felt emboldened.

See those black specks in the viewfinder? Those are from the disintegrated foam. It’s hard to tell, but the focus is off here as well.
However, after loading the camera with the super rare Pro 400H, my subconscious recognized my non-brain-genius-ness and began working overtime to save me from myself, incessantly trying to grab hold of the brain wheel and desperately trying to pump the brain brakes. How annoying. YOLO, amirite?
After I messaged the seller to say that there might be a problem with the “no issues in shooting,” mint, in box, from Japan camera they sold me, I also reached out to several camera repair shops in the US.
It’s easier to find Big Foot than a Bronica repair person these days, but below are the shops that I emailed.
Film camera repair shops in the US (that I contacted)
318 Oak St
Wyandotte, MI 48192
77 Cambridge Court
Chelsea, MI 48118
37 W 39th St, #401
New York, NY 10018
406 W 39th St
New York, NY 10018

The infamous broken Bronica outside the door of Nippon Photoclinic on 39th Street in New York City
How much does it cost to fix a Bronica S2?
Camera Doctor replied first. Frank told me that if the issue was focusing, the repair would start at the very high price of $285, which is roughly half of what I paid for the Bronica. Midwest Camera said they don’t touch Bronicas and pointed me to Dave’s, who never replied.
However, Nippon’s website invited me to just walk into their shop, and since it’s only five stops away by train (down the street from Camera Doctor, by the way), I decided to show up.
Nippon Photoclinic is a few blocks north of K-Town, on the 4th floor of a nondescript building a block south of Bryant Park and a long block east of Times Square, between Broadway and Fifth Ave. I mention these uber specific directions in case you’re ever out shooting in New York’s touristy spots and feel the urge to ask a camera repair question at Nippon or Camera Doctor. But I digress.

Inside the elevator, heading to Nippon Photoclinic

Nippon’s ancient stereo system; it does the job
I took the elevator up and walked into the repair shop where modern pop music was playing from a not-so-modern stereo. I asked the man behind the counter whether he would service the Bronica S2 and its very disappointing focus issue. He told me he didn’t work with Bronicas but proceeded to inspect it regardless. He walked away with the camera, behind a make-shift wall and returned a couple of minutes later to confirm that, yes, I did indeed have a focusing issue and, yes, it was probably bad enough to affect every photo that I’d shoot with the camera.
Disappointment, again.
For those of you who made it this far and are screaming “YOU ALREADY KNEW IT WAS BROKEN, YOU DUNCE,” let’s tabulate the score so far:
Countless forums, two YouTube videos, a repairman via email, a repairman in person, and my own two eyes: 1
Me: 0
I took the elevator back down and caught a train to the least expensive photo shop in the city (to the best of my knowledge) to drop off the most expensive roll of test film in the city.

My Zenza Bronica on its way to the city via New York Waterway ferry from Jersey City.
Where to get film developed in Manhattan? (An incomplete list)
Sammy’s Photo Lab (they don’t have a website)
27 Essex St
New York, NY 10002

Outside the Color House after picking up my negatives.
I went to Color House on Lafayette, where the price to develop a roll of 120 format film is $8, with an additional and unexpected 65 cents to leave it uncut and unsleeved. I left the roll with Tarik to be developed by the next morning, ready for me to scan it myself. I also bought a box of Kodak Portra 800 for $65 which will come up again later. This was on a Tuesday. *Law and Order Dun-Dun sound*
Now is a good time to tell you why I was scrambling to get the focus fixed. People make bad decisions when they rush, and I was rushing for a photoshoot that I had scheduled for Thursday, only two days away, and I really wanted to shoot with the Bronica.
Though I do have another medium format camera, the trusty Yashica D, I really really wanted to shoot the Bronica. If the test shots came out blurry, I would just use the Yashica. If they were sharp, then “yay, me; no problem here.”
But of course, this is a story about disappointment and accepting failure, so we must continue the streak of self-inflicted wounds. Lingchi. Death by a thousand cuts.
I received a text that evening from my friend Amanda, the subject of the photoshoot, asking if we can shoot the next morning instead; her work schedule got busy on Thursday.
I agreed and promptly packed the Yashica D, deciding not to take a gamble on the Bronica S2 seeing as how the test shots wouldn’t be developed and scanned in time.
Hah. You thought. I’m not a brain-genius, remember?
Of course, I took the stupid gamble and arrived at 7:30am the next morning with the box of Portra 800 in my back pocket and my definitely-broken-but-sure-might-be Bronica S2 around by neck. For the next hour or so, we walked around New York’s Meatpacking District and shot a single look. Amanda runs a luxury fashion brand, Lou Lapel, in addition to her day job as a top-notch product marketer. In short, she knows her stuff.
I always appreciate when she is down to shoot a new look because it helps me stay creative and try new things. I warned her that there was a chance that the focus would be off on every frame we shot that morning, and that we were taking a chance. “Let’s see,” she said.
Cool, open-minded friends are the best friends. Keep them close.
In the hour or so that we shot, we ended up burning through three rolls of Kodak Portra 800 and a roll of Cinestill bw-XX, a new black and white film stock I was also itching to try. We said our goodbyes and I raced to drop off the rolls at Color House, and to pick up the test roll that was waiting for me from day night before.
The moment of truth
Sometimes, you already know the answer to a question you were too afraid to ask, but you ask it anyway, knowing that the truth will hurt you, but hoping against hope that you were wrong.
When it comes to my test roll, I wasn’t wrong. The truth took me into the street and did to me what Sonny did to Carlo in the Godfather. A bad analogy, but a great visual.

Test roll negative on my a light table.

Another shot of the test roll negative on my a light table. Looks sharp here. It’s not.
With the cut roll of 120 film on my light table, things didn’t look too bad. The negative was thin, indicating some well exposed shots, but it turned out that I wasn’t born lucky.

One of the shots from my test roll. The man in the yellow shirt was sharp in the viewfinder, but is very much not sharp in the final photo.

Cropped image. You can clearly see that the man in the yellow shirt is not clear at all.
What I discovered when I scanned the roll that night was that every photo was completely out of focus, as you can see above.
Worse still, the deteriorated foam had crumbled inside the camera body and made its way into the back of the lens or the curtain (I couldn’t tell which). This resulted in black spots appearing in the finished photos. Little foamy debris, haunting me.
If this was a horror movie, which I’m not entirely convinced it’s not, then I’m the guy that goes to inspect the noise. I stay inside the house.
This was bad news for the four rolls of film that I had shot with Amanda and there’s not much more to say about that, since I picked up the developed rolls that very same night. The tech promised that the rolls would be developed by 7pm and I was at the door at 7:01pm. Delaying the inevitable, I took an extended detour through the Feast of San Gennaro happening two blocks over on Mulberry Street and distracted myself with the smells of zeppole and meatballs.
The second moment of truth

Negative from the photoshoot on the light table. Looks well exposed.

Another negative from the photoshoot. You can see the focus issue in a couple of the frames.
Well, as promised, the photos from my shoot with Amanda were almost all out of focus, apart from one or two lucky shots thanks to the angle (and not at all thanks to missing the focus when shooting).
A case of missing 100% of the shots you do take. You can see a handful of the missed shots below.


Look, I can’t say I wasn’t completely disappointed. I shot all of the Portra 800 rolls at ISO 640 and, even though it was a rainy morning, they came out with beautiful colors. What a shame that the thing to ruin them completely was the focus.


But, joy! The eBay seller returned my email and offered to give me a refund in the amount of the repair costs. All I’d need to do is submit a photo of the estimate or receipt of repair. In all my years of dealing with people on the internet, not just sellers, I didn’t expect this level of accommodation.

A rare in focus shot.

Amanda’s glove and lapel in focus, but not the left side of her face, which is where I placed the focus in the viewfinder.
If I could at least get the repairs paid for, I would gladly eat the cost of the rolls, developing, and my time and efforts since I started shooting with the Bronica. I grabbed it and headed into the city again for a conversation with Frank from Camera Doctor.
Why Frank was (frustratingly) right
Camera Doctor is Frank Rubio and Matt Swiader’s place on W 39th Street. Back in the day, both Frank and Matt used to repair cameras at Lens and Repro on W 17th Street before it closed and merged with Calumet Photographic, which also closed. In its 47 years in business, Lens and Repro was one of the best places to find collectible cameras and get them repaired. Today, Frank and Matt run Camera Doctor NYC which, as you now know, is a rare sort of place in New York.
When I got to Camera Doctor, I was fully prepared to walk out with a written estimate for the camera repair. Instead, I walked out the same way I came in, with an un-repaired camera and without an “official” repair estimate.
And that’s exactly what I needed.
It turned out that I was stuck in a catch-22, chicken-and-egg situation. I wanted the camera fixed, but I didn’t want to pay for it out of pocket without getting the refund from the camera seller. Frank wanted to fix the camera, and get paid, but he couldn’t just write down an official estimate and let me walk out with the camera.
Frank was covering his ass, and he was completely right to do it. Look, I was perfectly comfortable with having him write down that $285 would be the absolute minimum cost of repair pending diagnosis. I would take that piece of paper to the eBay seller and have them give me a refund. Then I would take the camera back to Frank and pay him the $285 plus whatever the difference would be to repair the focus.
I also couldn’t leave the camera at the shop to get properly diagnosed because of the time it would take. Could be a week, could be longer. If my eBay return policy expired in that time, I’d say good-bye to any chance of getting my money back and would possibly have to pay to get the thing repaired if I wanted more than a fancy paperweight.
Frank politely explained to me that I wasn’t being very smart.
“What if,” he pondered aloud “what if the focus issue isn’t the problem? Or what if it isn’t the only problem, and we find issues with the mechanics? What if $285 becomes $400? Or $600? How much did you say you paid for the camera?”
I had paid about $600 for it, and I didn’t even consider until that moment that there might be other issues.
Blah, blah. Not a brain-genius, remember?
His advice was to just return the camera or have the seller call him to confirm that the minimum cost would be $285 and, if I’m comfortable, I’d then cover the difference. His closing argument was that I might have thought I bought a lemon, but one that would quickly morph into a money pit.
Grateful that Frank wouldn’t take my money (down the line since I wasn’t offering him anything today), I picked my camera up off the counter and made my way back to the train.
Now what?

A reasonable request
I opened a new eBay message and took a breath. If I was just polite and explained the situation to the seller, they would give the refund any way. After all, the item that they had described as being in mint condition with no issues shooting didn’t exactly function as if it was.
Here’s what I wrote:

I thought it was a reasonable request. I’d get a refund to repair the broken camera and they wouldn’t have to deal with the return of a broken camera and loss of revenue.
The next day, I didn’t get a response. Or the day after that. Or the day after that.
The worst thing had happened: the seller was ghosting me. I KNEW IT! I just knew this was going to happen. After all the back and forth, the trips to the repair shops and the test roll, and the disappointing results from my photoshoot with Amanda. All the time, and money, I had spent to get this resolved and the seller was ghosting me. At least I didn’t leave the camera with Frank.
On the fourth day, I got a response.

YES!!! Thank goodness for good people. The seller came through, the money was refunded ($275; that amount is in Canadian dollars; don’t ask) and I was on my way to repairing the camera and shooting!
But first, some DIY
Ok, don’t judge me, further or for the first time. This entire experience was an experiment. So far, I had bought a camera that was sold as mint with no issues shooting, but turned out to have focusing issues, spent well over $100 on film and developing negatives of photos that were all out of focus, and running around the city trying to get it repaired. Nothing was working, but this refund was the first piece of good news. However, since I was going to get the camera diagnosed and repaired anyway, I thought about maybe, possibly, definitely trying to repair it myself.
You see, as I mentioned somewhere above, the focus/foam issue on the Bronica S2 is a well documented one. Which meant that a handful of diligent photographers had already documented their own journeys with repairing the issue, including Philippe L on Flickr, antoniobravo in the photo.net forum, and The120Ist on YouTube.
I resolved to follow in their brave footsteps. Best case scenario: I would repair the camera while saving time and (additional) money. Worst case scenario: I would take the camera back to Camera Doctor for repair, as was always the plan.
However, I couldn’t jump in without making contact with the Repair God of New York, Jimmy Koh.
For decades, Jimmy was the proprietor of Koh’s Camera about an hour’s drive from JFK Airport, on Long Island, and was the go-to person for servicing Bronica’s. You can see a hyperlink for Bronica Repair in the screenshot from his website which is still up today and hasn’t changed much since 1999.

Koh’s Camera website screenshot from October 2021.
Even though Jimmy has officially retired, he’s still very generous with his knowledge and time, offering his email and phone number to anyone who still wants advice on camera repair. They don’t make ‘em like Jimmy anymore.
I sent him an email explaining the issue with my Bronica S2: focusing problems, might be the foam, what should I do?
He replied within an hour. “Hi Michael. Yes, just take off the screen frame and clean off the foam, replace with new stone foam and check for infinity, if out of focus, just remove some thin white plate under the ground glass, if you have any questions, just call me. Jimmy”
That was all the confirmation I needed to get started.
I made a list of everything that I would need, based on the DIY repairs of other Bronica S2 and S2A owners. I went on Amazon and ordered a set of screwdrivers, isopropyl alcohol, and 3” light seal foam. Photographers are doing it for themselves.

My wife caught me possibly stripping a screw inside the camera body in this photo.
I won’t list all of the repair details here. Instead, I’ll write a separate blog post.
However, here are the basics.
I measured the distance of an object to the camera, and made a note of how far off the focus was in the viewfinder. Then, I removed four screws in the camera; two holding the frame above the ground glass and two more that were holding the frame of the mirror. I confirmed that the original foam was virtually nonexistent.
I cleaned up the mess, replaced the foam underneath the mirror and frame holding the ground glass, and put everything back together again. Then, I remeasured and, thankfully, got an accurate measurement for the focus.
All that was left was to test another roll inside of the camera and pray that the saga was finally over.
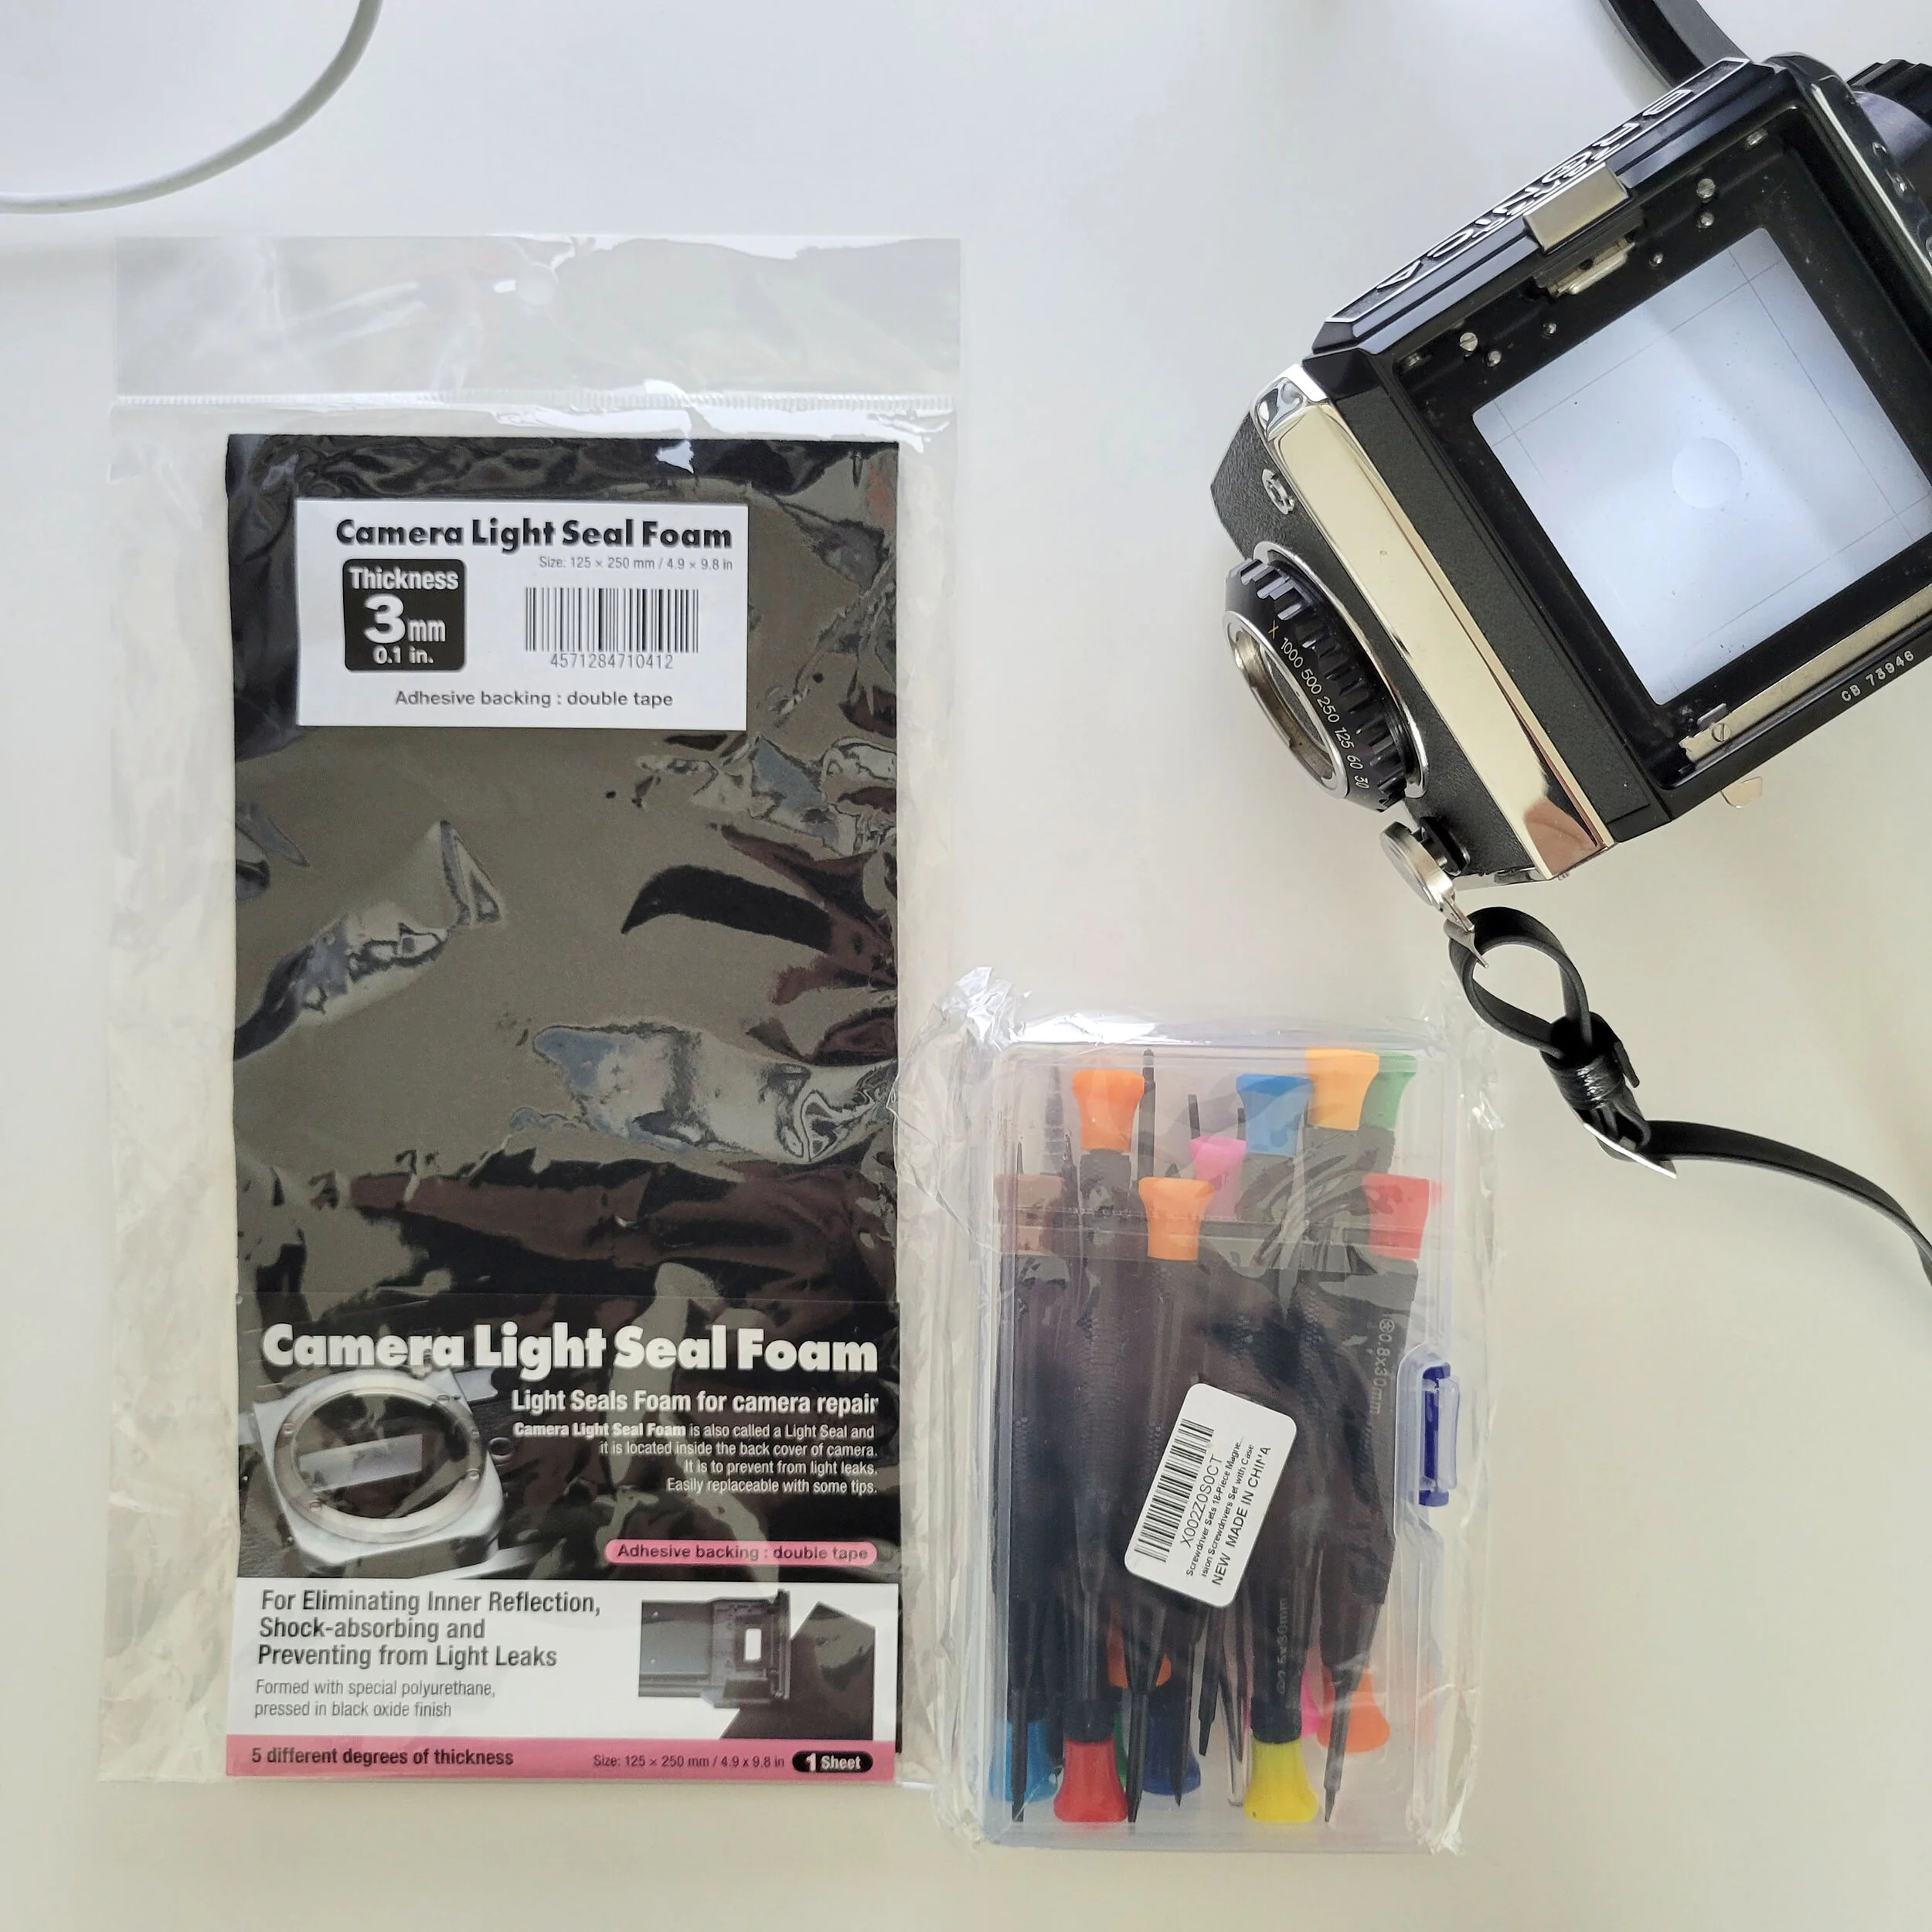
3mm light seal foam and screw driver set. Total cost was about $20 with Amazon Prime.

The foam underneath the ground glass frame; after 55+ years, it looks like ash.

Measuring how far the focus is off in the viewfinder.

What’s left of the foam underneath the mirror inside the camera body.
The not-so-dramatic conclusion
As you have probably guessed by now, the plan worked, and you can see the results of the post-repair test roll below.
Remember how I started off the blog post? I wanted to talk about disappointment and failure in film photography. Film has been experiencing a resurgence in the past few years. Can I get on my soapbox for a moment? Or, as Kanye West would say: Can I talk my shit again?
We can speculate as much as we want about the reasons why film is coming back. I personally think that it’s one part nostalgia, one part a desire for a more challenging and hands-on medium, and one part the excitement of the unknown. How else do you explain the joy that so many experience when they take part in lomographic adventures? Or the anticipation of how a roll might turn out? All the additional steps, from choosing film stock, to exposure, to developing, and editing (or not) the shots.
Oh, and that thing that Marshall McLuhan had said about the medium being the message.
For many of us, though not all of us, film photography is about a level of experimentation that the instant nature of digital simply can’t match. It slows down and prolongs the process. Instant gratification becomes delayed gratification, and really lets us savor the flavor, if you will.
This entire process I described in this blog post has been about experimentation; about trial and error, until I had a story to tell and maybe even something beautiful to show for it. From the research, to the purchase of my camrea, to the testing and repairing, the whole rollercoaster of emotion I felt, and the great conversations I got to have with new people who know more things than I do.
I learned so much about this particular camera, about medium format photography, about camera repair and the even parts of the film community online and in New York. Surely there’s a version of this in digital photography, but is it as satisfying?
That’s subjective, I know, but I loved every minute of this long journey and I’d do it again, even if I ended up with a dud of a camera.
If I had to sum up this experience with one bit of wisdom, it’s to push through and even embrace any disappointment and find creative ways to be creative. It might take time, money, and lots of patience, but it’s much more satisfying than giving up. The journey is the destination, man.
I’ll be putting the rest of my refund into another film back and lens for the Bronica and will continue experimenting with it, and new film stocks.
Here are six shots from the second test roll.


Buy something, would you?
All the links in this post that take you to a purchase are affiliate links, which means I get a nominal commission for every sale. It doesn’t cost you extra to make a purchase, but it does help me pay for this website. Here’s a list of everything relevant.
Film: Kodak Portra 800 5-Pack ($65), Kodak Gold 200 5-Pack ($35), Ilford HP5 400 Black and White ($44)
Repair Materials: Measuring Tape ($8), Air blower ($8), Isopropyl Alcohol ($8), Camera Light Seal Foam (3mm) ($9.99), 18-Piece Screwdriver Set ($9.99)
Camera: Prices vary, but here are a few that are on eBay now…
Zenza Bronica S2A Black with 75mm f/2.8 Nikkor Lens (from Japan, Near Mint) - $509 USD
Zenza Bronica S2A Black with 75mm f/2.8 Nikkor Lens (from Japan, Near Mint) - $499 USD
Zenza Bronica S2 Chrome with 75mm f/2.8 Nikkon Lens (from Japan, Near Mint) - $449 USD
Let’s be friends!
Find me on Instagram: @michaelfil