Top 9 Revit Title Block Must Have Features
If you need a good baseline to start from and customize to match your firms standards, I would suggest starting with our title block family to get started since we include all the features listed below with minimal effort from the user.
This is not 1994. It is time to update your title block to reflect the times. Title blocks are one the many marketing touchpoints for potential referrals. They need to function first as a organizational piece for drawing sets but also secondarily as an advertisement for business referrals. Title blocks walk a thin line between form vs function and it is even more important that drawings make the proper impression to contractors and consultants who will refer clients. Keeping title blocks simple while still providing clear and relevant information is important to a good first and last impression. (As they say, the people you work with mainly remember how the project started and how it ended.)
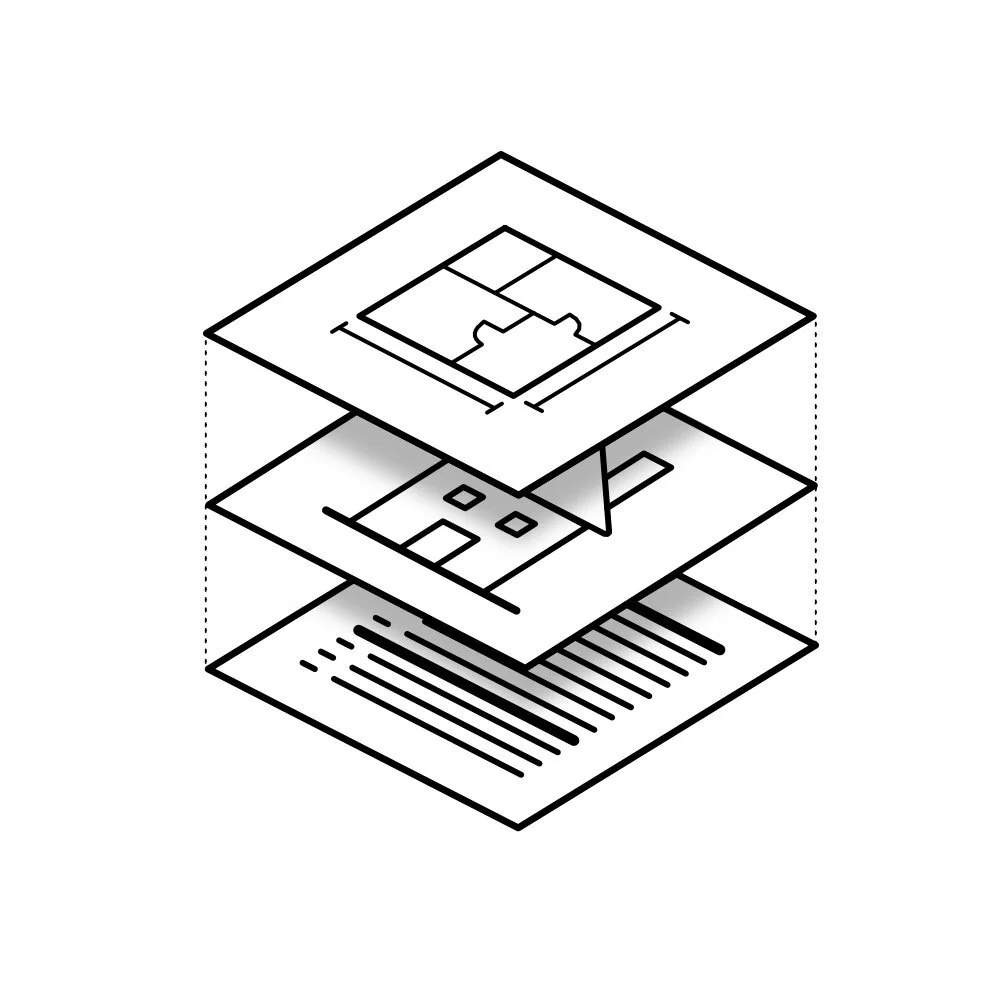
To make things efficient for modelers, Revit includes several parameters that automate information to eliminate repetitive manual updates and mistakes for every project. Not implementing these automations is simply asking for more non billable work than what is necessary. Here are my top 9 features to include in a title block.
1. Project information fields

At one of my first jobs we had title blocks that required manual updates to project information every time we started a new project. I did not know better back then but I sure wish I did. Under,
Manage > Settings > Project Information
Revit includes a list of project specific information parameters that users can associate with every project.

Populating this data allows users to sync this information with specifically title block families. This lets any new or alternative title block to automatically update with the latest information instead of needing to save-as a new title block.
Additional parameters can be added such as consultants or reference codes, for a more robust project information log. Check local municipal submission standards because some require more information to be shown than others.
2. Toggle on/off POR Stamp

Before 2020, there were plenty of cities that required wet stamped drawings. Thankfully, only a handful of municipalities fell back on this archaic practice. Now that most places finally implemented digital submissions keeping a copy of a digital stamp in the title block file is a good quality-of-life feature.
Simply placing an image in the title block does not work because Revit will not assign a visibility parameter to turn the stamp on/off in the project file. First, create a new Generic Annotation family and add a high resolution copy of your stamp. Scale the stamp to the correct size, rename file, and save to a secure location.

Next, import the new generic annotation family in the title block family. After it is placed in the correct location, select the family and click on associate parameter next to the Visible parameter in the Properties Palette.

Create new POR Stamp visibility parameter and assign it to Type or Instance based. (I prefer a Type parameter because this will allow users to turn on/off the stamp for every title block at once while an Instance based parameter requires every title block to be selected and turned on/off manually. This can lean to mistakes for certain sheets. Just be sure to keep the office review workflow in mind.)
3. Automated Revision Schedule

There are two ways to do this, the easy automated way, or the wrong way. I have experience too many old projects that use manual revision schedule updates, either in the title block file or as a text note on the sheet. Do everyone a favor and create a revision schedule, not just a text column.
Inside the title block family go to View > Create > Revision Schedule.
I keep revision schedules simple: Revision number, Revision description, Revision date, in that order.
Pop that bad boy into a title block and now every time a revision bubble is placed on a sheet the title block schedule updates with the associated revision phase. Boom. Done. No more hassle.
There are two ways Revit organizes issued revisions, on a per sheet or project basis. Go to Autodesk knowledge base for more information on revision schedule sequence.
P.S. For those that do not know, common AEC drawing sequencing standards are: numbered sequences for municipal reviews and lettered sequences for bid/construction drawings. If you disagree, even though you are wrong, you can email me at jake@revittemplate.net.
4. Not for construction
A must have for all firms, so there is no confusion on what should be used as reference material. Create a simple text note, or graphic if you like, and apply a visibility type parameter. Firms differ in how prominent the text should be but I like to keep it close to the sheet title and number so anyone will notice it sooner. This can be taken a step further by linking the POR stamp with the not for construction visibility parameter so whenever the drawings are not stamped the text will appear.
5. Area for approval stamps
Nearly every municipality will stamp your drawings once approved, I have yet to come across one who does not, and when they do they typically go for any free space on every sheets. While I have only come across a small handful of cities that require this, I find it very helpful keeping drawings clean and organized from random stamping across multiple pages.
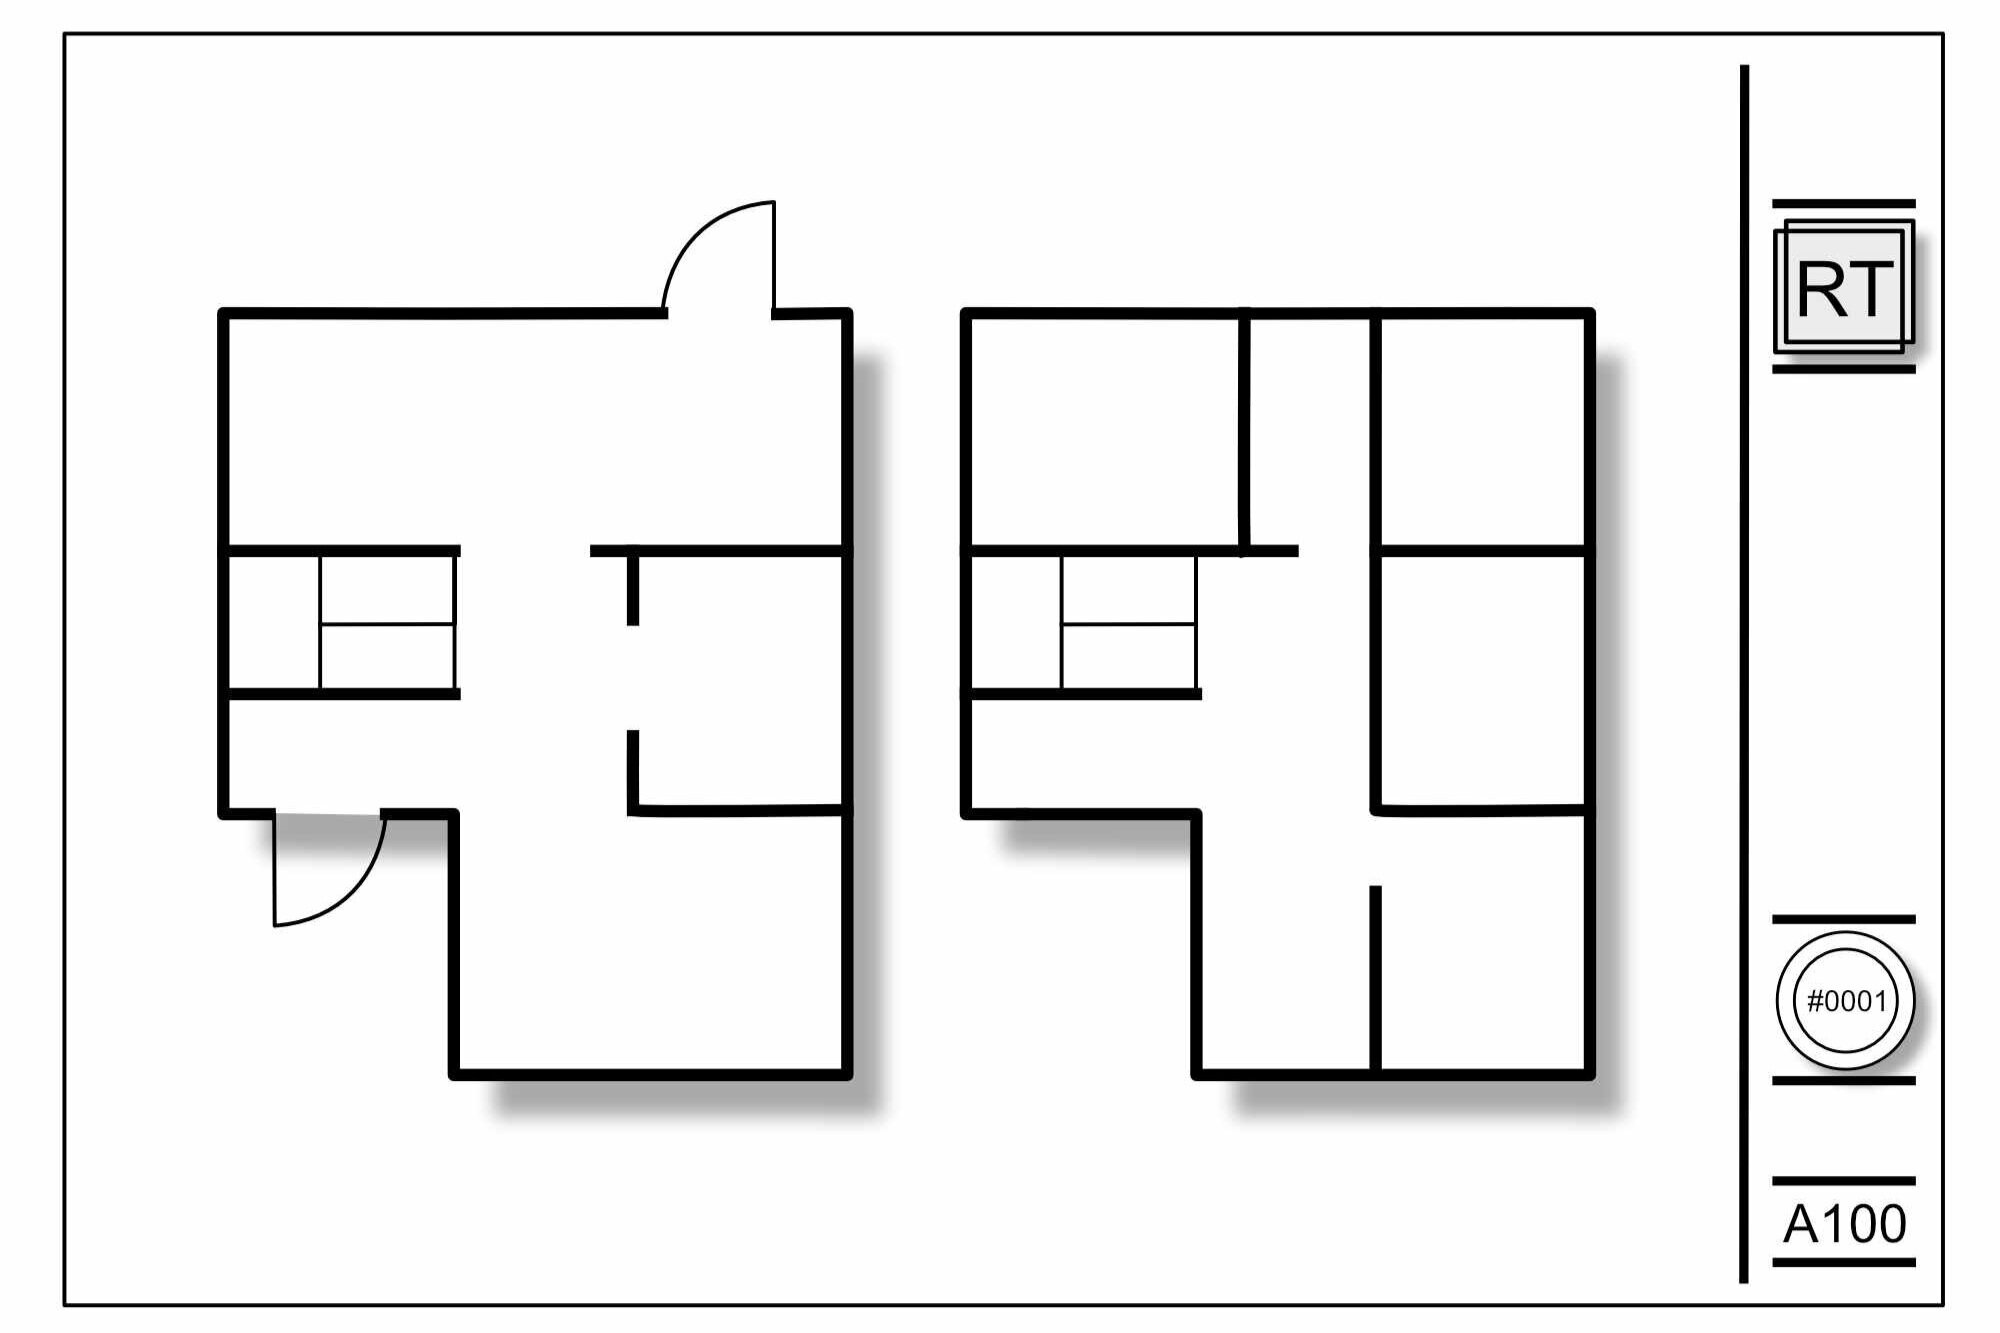
6. Grids
I do not see this feature often enough in drawing sets. I find it wildly more useful for two reasons.
One it helps with identification when there are several details or views on a sheet. Things can easily get lost in the mix especially if everything is numbered in order. If views are numbered in order on a sheet and an additional detail is added to the middle of the sheet almost all details will have to be renumbered. If a grid is used and labels are assigned based on grid location it will help with locating the detail when it is reference on another sheet.

Two using a grid also helps with drawing alignment on multiple sheets. I get super annoyed when I tab through a pdf and the plans continue to shift with every page. It is less visible with a printed set but does help keep your drawings neat and orderly. Revit has a built-in grid guide feature in the properties palette but I add lines inside my template, add a visibility instance parameter, so the guides align with my grid sizes, since the x and y axis widths are not the same.
7. Automatic Scale
This should be standard with every template. Revit detects what view scale has been placed on the sheet just in case your view title does not show the scale.
8. Sheet size lines
These are simply good practice so everyone knows the sheet extents when modifying or adding information to a title block. The lines should be drawn inside the title block but are set as invisible line types, not as turned off visibility parameter, this way the sheet extents are visible when hovering over the title block inside the project.
9. Project file location & date and time

I could not believe I worked for so long without this feature in my title blocks. This is probably my best tip and saves me the most headache. All too often I had a client or contractor send or reference an old set of drawings and unless the file name still included the issued date I would have the hardest time figuring out when the file was printed or what the original archived model was. Once I added these parameters, I fool proofed the reference process so any user will always know when, where, and what file is being referenced. This feature is especially useful for projects that go on for several years where, unless both parties have rigorous archiving workflows set up, drawings can easily get mixed up.
I like to keep this information along the left side of the page so when drawings are printed the information does not need to be visible once the drawings are bound. To add simply click Create > Text > Label inside the title block family then add the date, time and file path parameter to the label parameters and add to the page.
Honorable mention: Drawn, checker, approver parameters

Outside of massive design firms, and even then I do not really agree unless the firm follows ISO 19650 BIM standards, I find this parameter to be a waste of real estate. In medium to small firms, it is typically known who was on the project and who did what, especially if everyone does a good job documenting the project outside of the drawing sheets.