

I am sure everyone has watched or at least heard of the Mission Impossible film series. Remember one of the scariest moments in the “Fallout” (2018) with Tom Cruise hanging from a cliff? Well, that cliff does exist and it is called Preikestolen or Pulpit Rock. Due to its amazing structure and relatively easy access, hike to Preikestolen is one of Norway’s most famous hikes. It was also the first hike on our West Norway road trip adventure, and it was everything I had hoped it would be. You can find tons of information about this hike online, so I will try to cut thing short and sum up the most important things to know before hiking to Preikestolen.
Disclaimer: we did the Preikestolen hike in July 2021, during “corona times”. Norway was open to EU citizens and while camps and hotels were almost completely packed, this is still nothing compared to the actual crowds that come here in “normal times”.
WHAT MAKES PREIKESTOLEN SO SPECIAL?
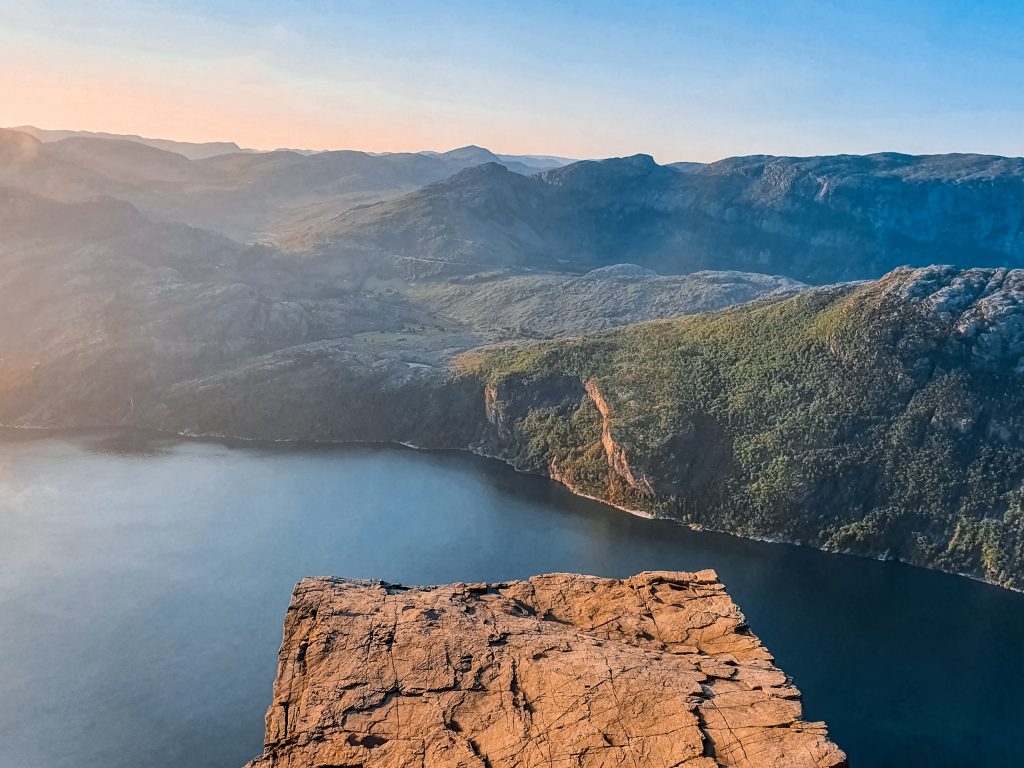
Why is Preikestolen so popular and on almost everyone’s bucket list? Preikestolen is a massive 604 m vertical cliff, known for its large 25 x 25 m almost completely flat plateau. It was formed approximately 10.000 years ago, during the ice age, when the edges of the glacier reached the cliff. There is a forecast that the plateau will at some point fall down due to some deep cracks, but geologists say this will not happen in the near future.
LOCATION AND PARKING
Preikestolen rises above Lysefjord in Rogaland County, South-West Norway. The closest city and a good base to explore the region is Stavanger. The hike to Preikestolen starts from a large parking area by the Preikestolen Mountain Lodge next to lake Revsvatnet (type Preikestolen parking in GPS). Parking fee varies for different types of cars, the fee for normal car was 250 NOK (around 25 EUR), valid for 24 hours. Cheating is not possible because license plates are scanned automatically. Also, there is no alternative free parking in the area, unless you stay at Preikestolen BaseCamp, which does not come cheap.
WHERE TO STAY
You can try with Stavanger, however if you want to start early, you will want to stay as close to Preikestolen parking as possible. We stayed in Lillland Brewery hotel, which is less than 30-minute drive away and we absolutely loved it (see here why). There were not many options to choose from, to be honest, because all the camps were full, and the BaseCamp was too expensive for a last-minute booking. Wild camping or camping in designated areas is of course always an option.
p.s. You can also check Airbnb – if you don’t have Airbnb account, register via this link to get a 30 € discount for your first booking (the total cost of your booking has to be over 300€).
TRAIL DESCRIPTION
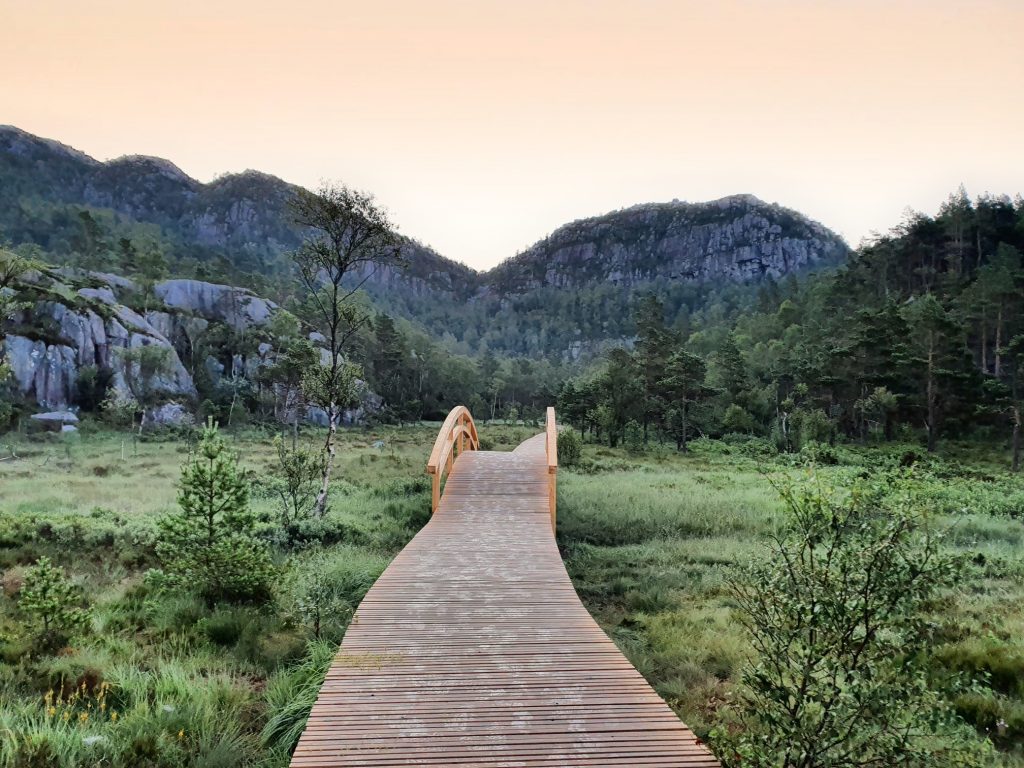
The distance between the starting point and Preikestolen is 3.8 km. The first half is steeper than the second, but nothing too serious. The trail is well marked with green signs that show the remaining distance, which I found very encouraging. Part of the trail was covered with some kind of stone stairs, with the help of Nepalese Sherpas, to make it the hike easier for everyone. In fact, I found some spots even too tourist-friendly but I guess better safe than sorry. Thousands of people of different shapes and ages want to see the Mission Impossible scene each year, so securing the trail was probably inevitable.
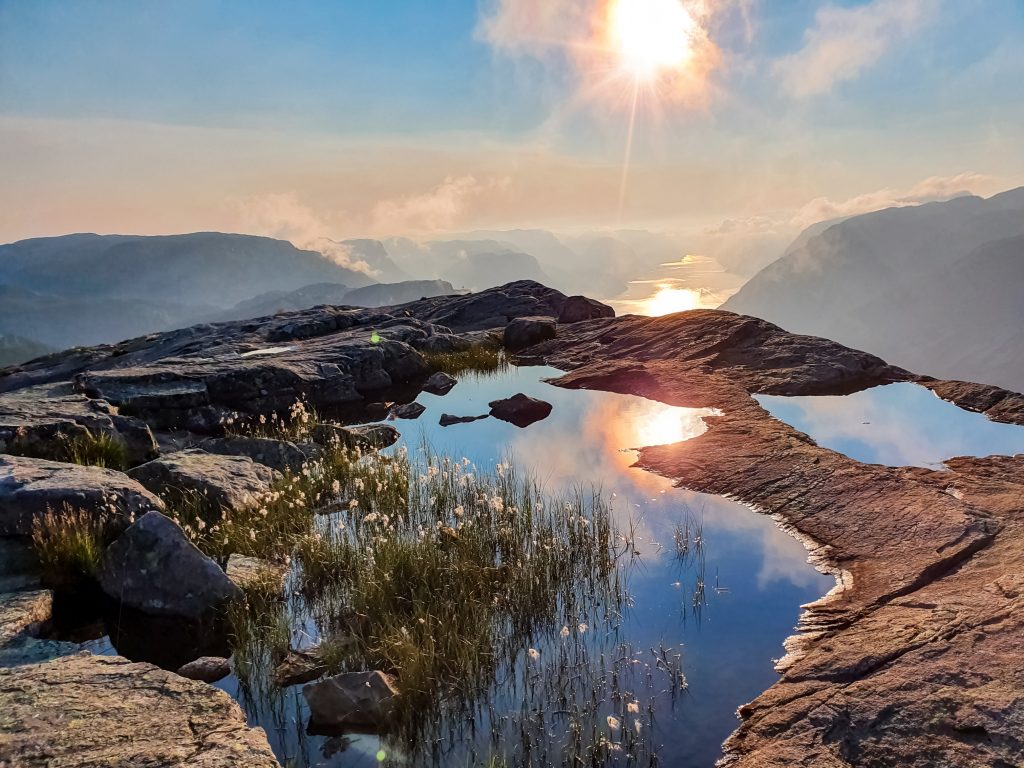
The second part of the trail is covered with lakes and interesting rock formations, so it never gets boring. The lakes are actually a fun spot for a quick swim to cool yourself down if necessary. The last kilometer is the easiest, I almost ran to the top of all the excitement. The Pulpit Rock awaits behind the corner and you can get a good visual of it from the trail and also from above (involves a bit of crawling, but nothing too scary).
HOW LONG IS THE HIKE TO PREIKESTOLEN?
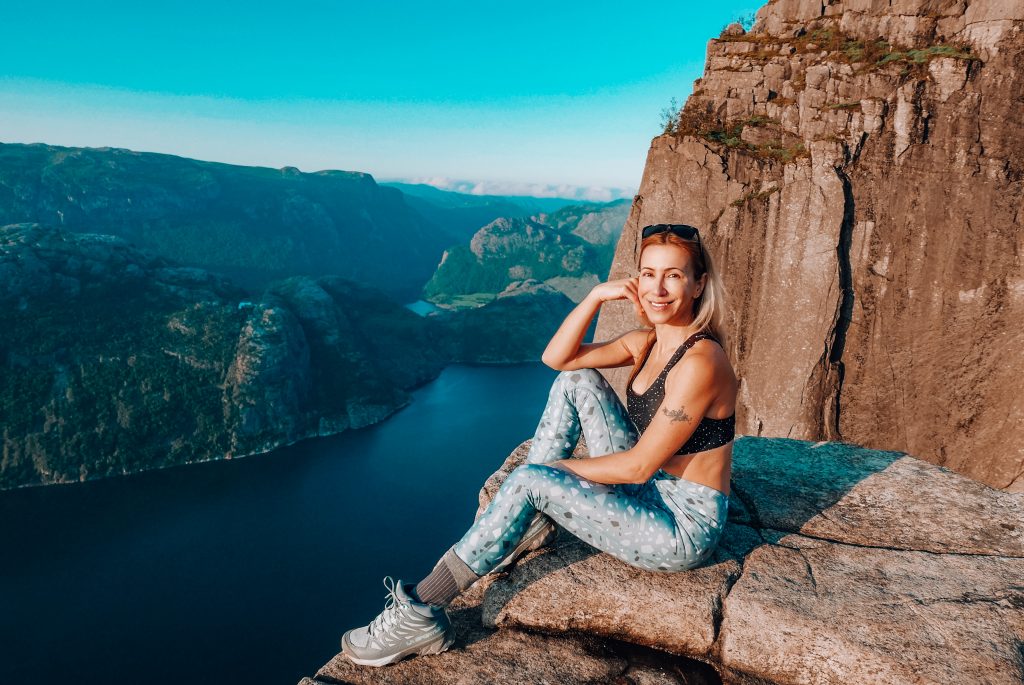
Officially it is a 4-5 hours round trip with the total elevation gain of around 500 m. It all depends on your shape, rush and goals. We are in a relatively good shape (too old to quality for the Olympics though) and it took us 1 hour to reach Preikestolen. The weather was fantastic, and there were hardly any people at the top, so we took our time for those Insta shots. Strava says my total (roundtrip) moving time was 2 hours and 16 minutes, but that includes me posing and crawling to the top for even better views.
WHAT TO BRING WITH YOU?
Since this is not a very difficult hike, you only need water and perhaps some banana or energy bar. There are a couple of spots (streams) where I think it could be safe to fill in the water bottle, if necessary. Do take some extra layers for possible winds at the top, no matter the season. We were lucky and got away without even a small breeze. You can wear normal sports shoes, as the terrain is not that difficult, but still don’t go with flipflops or Allstars because it can get slippery. Did I mention charged phone and a camera? You can read my basic hiking gear and tips for hiking beginners in this post.
OTHER USEFUL TIPS
- Check the weather one day before the hike – this link (by the hours) is very good. We had clear skies, and the temperature at the top was around 20 Celsius.
- Start early if you want to avoid the crowds. We started at 5 AM and there were only around 10 people at the top. On the way back we met lots of people, it was almost annoying saying hi to everyone.
- Drones are only allowed to some point (there is a sign on the rock that says “no drones from this point”). And, honestly, you can get a fantastic view of the Pulpit Rock from above, so perhaps leave your toy in your car for this hike.
- Is standing on Preikestolen scary? Standing on the rock is not scary at all, as it is a big surface. Standing on the edge though is something to shit your pants. My best advice is to lay down and crawl to see the bottom if you need to.
- The best time to photograph Preikestolen in my opinion is sunrise / dawn because the sun is still very far from the picture and the light is not disturbing. Not sure about the sunset, but my bet is that it is almost as beautiful.
- Toilets: There is a service facility with toilets in the parking area, however, if really necessary, you can find some spots along the trail to hide your ass properly.
- Hiking off season: if you plan hiking to Preikestolen in Winter (out of the main season which is June – September), please note that temperatures are significantly lower, there is much less (almost zero) sunlight, and the chances of snow or rain are much higher. The hiking gear list has to be well adjusted for a safe hike.
- Check out the rest of my photos in my Facebook album and higlihts with short video clips in my Instagram profile. Followers welcome! 😉
IS THE HIKE TO PREIKESTOLEN WORTH IT?
From all the famous hikes we have done in Norway this was actually one of the easiest. And the target itself is totally worth it. So, my answer is definitely yes. If you check out this short “behind the scenes” film from Mission Impossible, you will agree with me in a second. Also, hikes to Preikestolen and Kjerag (also rising above Lysefjord) have been certified as Norwegian scenic hikes in 2020.
I hope I have covered all the important information about hiking to Preikestolen and that my tips will help you decide whether Norway is your next destination. I promise, it is even more beautiful than in the pictures. Have you hiked Preikestolen? Do you have any tips and other questions to share with me? Scroll down and comment!

%20in%20Norway&media=https://www.travelwithanda.com/wp-content/uploads/2021/07/hiking-to-preikestolen-blog-travel-tips-pulpit-rock-anda-arko-1024x685.jpg)